Einleitung
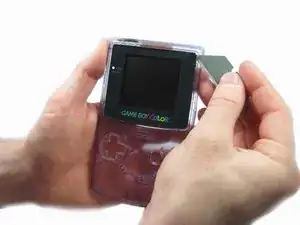
Die Bildschirmscheibe aus Kunststoff befindet sich als Abdeckung über dem LCD Display. Hier wird gezeigt, wie du sie austauschen kannst.
Werkzeuge
-
-
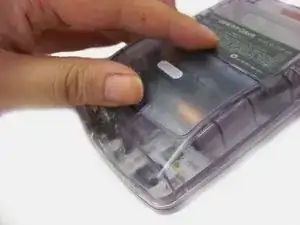
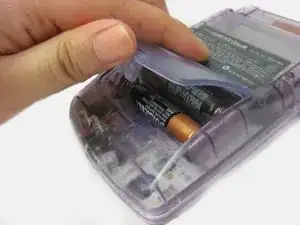
Das Batteriefach befindet sich auf der Rückseite des Game Boy Color.
-
Drücke die Rasten nach oben. Kippe den Batteriefachdeckel nach oben und hebe ihn weg.
-
-
-
Hebe die Ecke der Scheibe vorsichtig hoch, bis du sie mit den Fingern greifen kannst.
-
Hebe die Scheibe vorsichtig ringsum heraus.
-
Um dein Gerät wieder zusammenzubauen, folge den Schritten in umgekehrter Reihenfolge.
4 Kommentare
bro, you mustn't to dismount the console to only remove the old lend
sdfsafas -
You only need step 7 and 8.
h027299c -
An alternative method is to in step 7 insert a small screwdriver into the hole in the front shell where the power light goes through and push off the screen enough to pry it off with your hands. Thereby avoiding this razor-near-the-screen business. You will also most likely need some alcohol (or similar) to loosen the residue leftover from the old screen.
Nick G -
Yes that's true! I've seen repair videos where they do it the way you mentioned, much less of a headache