
Einleitung
Der Austausch des Displays an der Garmin Vívoactive 4 (M/N: 03618) ist nicht einfach und erfordert einige Werkzeuge.
Es gibt viele Gründe, warum du das Display tauschen möchtest. Es kann beschädigt sein oder nicht richtig funktionieren. Es kann so verschmutzt sein, dass die Touch-Funktion gestört ist, so wie hier beschrieben.
Beachte:
- Behandle dein Werkzeug und die Uhr mit Vorsicht, damit keine Schäden entstehen.
- Bei dieser Reparatur wird ein Heißluftgebläse verwendet. Hinweise zu seinem Gebrauch findest du in dieser Anleitung.
Werkzeuge
-
-
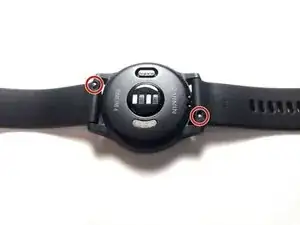
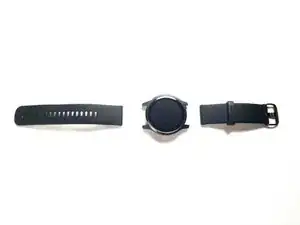
Klemme deinen Fingernagel oder eine Spudgerspitze unter den kleinen Stift am Armband.
-
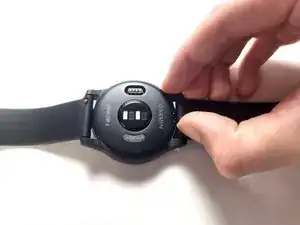
Drücke auf den Stift, bis sich das Armband löst.
-
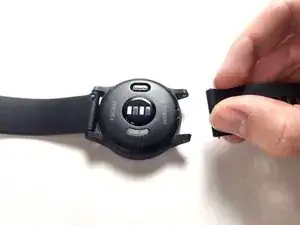
Ziehe das Armband von der Uhr weg und entferne es.
-
-
-
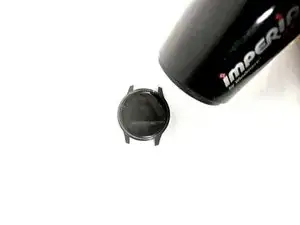
Erhitze das Display mit einem Heißluftgebläse, um den Kleber darunter aufzuweichen. Das kann 5 - 10 Minuten dauern.
-
-
-
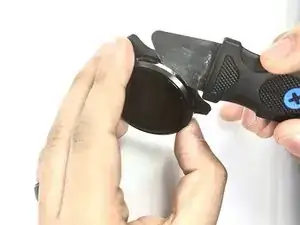
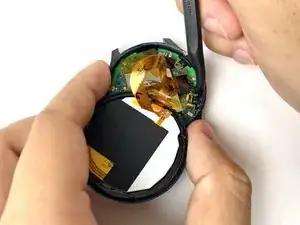
Zwänge einen Jimmy oder ein dünnes Öffnungswerkzeug in die Naht zwischen dem Display und dem Uhrgehäuse.
-
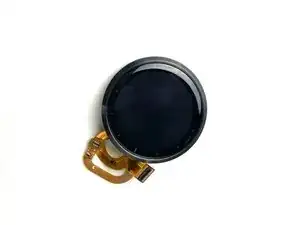
Heble das Display von der Uhr weg.
-
-
-
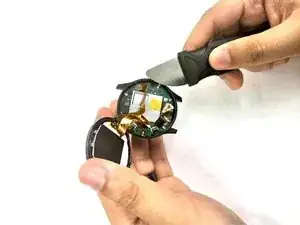
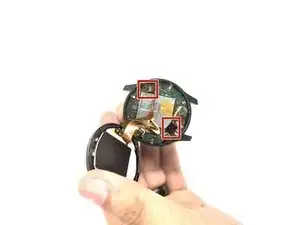
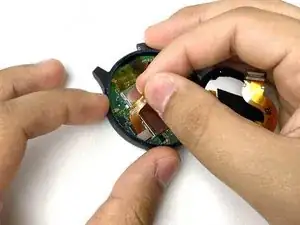
Setze einen Spudger mit der Spitze unter die Kanten der Stecker an beiden Kabeln auf der Hauptplatine, heble die Stecker aus ihren Anschlüssen hoch und trenne sie ab.
-
Um dein Gerät wieder zusammenzubauen, folge den Schritten in umgekehrter Reihenfolge.

3 Kommentare
Will this affect the waterproofing of the device?
I originally had this watch not responding to touch (it was gradual, parts of the screen started not working bit by bit). Finally the whole screen did not respond to touch inputs. Suspected the entire screen assembly had to be replaced but this shockingly proved unsuccessful. What else would kill this capability of the watch? I don't understand!
wait, I got the screen to work after a hard restart. Quite interesting, it must be learning/recalibrating the inputs each time it starts, like a scale.
My watch now crashes and turns off whenever I try to start an activity (I tried the run activity) and when trying to do NFC payments. The screen was the only thing I played with. What could cause this? I remember hearing from someone that the bezel acts as an antenna of sorts.