Einleitung

Grundständige Anleitung: Ausbau der Hauptplatinen-Baugruppe im Kindle 3.
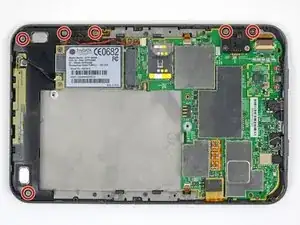
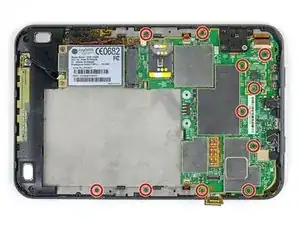
  1. xT6fXsvfrsgFDBrq
    • Entferne die sechs rot markierten silbernen Kreuzschlitzschrauben.

    The components look slightly different from mine, eg there is a plastic covering the hard drive. what model is yours?

    okojoijohoij -

  2. D1gUgORTjOBeRsBT
    • Heble den Displaystecker gerade nach oben und trenne ihn ab.

  3. UvPlaVs1RT5XL2Qc
    • Entferne die elf rot markierten kleineren grauen Kreuzschlitzschrauben.

  4. 2CEWnXW1Ia52KNnB
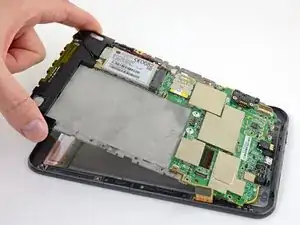
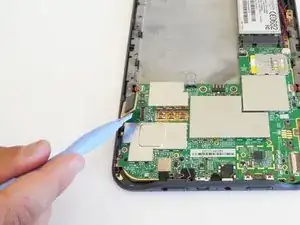
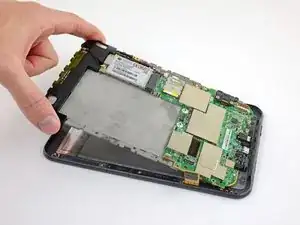
    • Hebe die Hauptplatinen-Mittelrahmen-Baugruppe an der Oberkante hoch, ziehe sie von der Unterkante weg und entferne sie.

    When lifting it out, it seemed to be affixed to something at the far bottom right corner (relative to the above photo), and required a bit of tugging before popping free, which was a bit alarming. Not sure where it was stuck. Was definitely lifting it away from the base first before lifting too far up.

    Also this is a good point to be reminded not to lose the little battery washers from earlier (step 3) if you decided to be smart and leave them on the board! Remove them and place them with the screws.

    domarius -

Abschluss

Um dein Gerät wieder zusammenzubauen, folge den Schritten in umgekehrter Reihenfolge.

Jeff Suovanen

Mitglied seit: 06/08/13

442488 Reputation

0 Kommentare