Einleitung
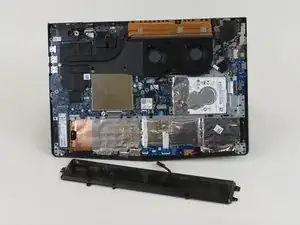
Wenn dein Laptop sich nicht einschalten lässt oder seine Ladung nicht lange hält, musst du wahrscheinlich den Akku tauschen. Der schwierigste Teil ist das Ablösen der Bodenplatte.
Entlade den Akku zur Sicherheit vor Reparaturbeginn auf unter 25 %. Du reduzierst dadurch das Risiko, dass er während der Reparatur in Brand gerät, wenn er versehentlich angestochen wird. Wenn dein Akku aufgebläht ist, musst du geeignete Vorsichtsmaßnahmen treffen.
Schalte dein Gerät vor Reparaturbeginn aus und ziehe den Netzstecker.
-
-
Entferne die dreizehn 6,5 mm langen Kreuzschlitzschrauben #00, mit denen die Bodenplatte befestigt ist.
-
-
-
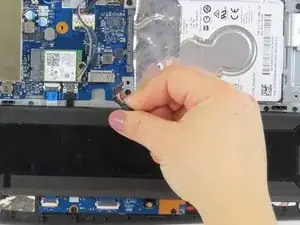
Stelle den Laptop auf der Seitenkante ab und zwänge einen Spudger zwischen die Bodenplatte und den Rahmen. Heble dann damit rundherum, bis sich die Bodenplatte löst.
-
Hebe die Bodenplatte vom Gerät ab.
-
-
-
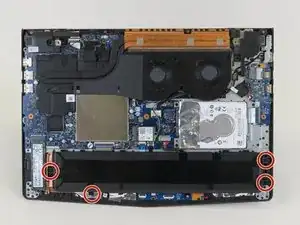
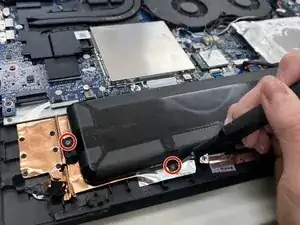
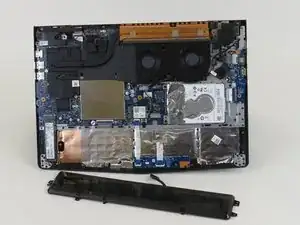
Entferne die vier 4,0 mm langen Kreuzschlitzschrauben #00, mit denen der Akku befestigt ist.
-


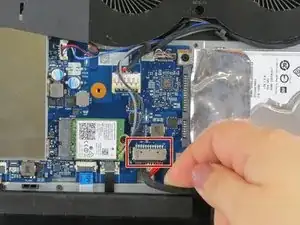
Um dein Gerät wieder zusammenzubauen, folge den Schritten in umgekehrter Reihenfolge.
Vergleiche das Ersatzteil mit dem Originalteil. Möglicherweise musst du fehlende Bauteile übertragen oder Schutzfolien von der Rückseite abziehen, bevor du es einbauen kannst.
Damit der Austauschakku optimale Leistung bringt, solltest du ihn nach dem Einbau neu kalibrieren.
Entsorge deinen Elektromüll sachgerecht.
Hat die Reparatur nicht ganz geklappt? Versuche es mit ein paar grundständigen Lösungen, ansonsten findest du in unserem Forum Hilfe bei der Fehlersuche.
6 Kommentare
Thank you, very helpful.
I’ve damaged mine at step 4 and i don’t know how. Now the plug is loose and at the slightest touch, it goes into failure…I don’t now how to solve this, maybe replace the socket on the board by a new one. :(
Hello
I dont know if you are gonna read this, but you could try to glue the connector with Superglue to the board, but watch out to not tear it off or put superglue into the connector.
electro -
Has anyone had issues with Legion Y520 laptop saying that the "battery isn't recognized" (with the x through it via the icon in the taskbar) after swapping the battery? I have tried three different ones that all do the same thing (one is even an OEM Lenovo Legion Y520 battery). I am thinking that either, the machine wants it to be an OEM one (not a third party one) and has some sort of check done after POST to verify if it is an official battery or not (and the one I have is just DOA?) or that there is an issue with the connector on the board itself?
mewdew64 -