Einleitung
Meine Lautsprecher machten ein knackendes Geräusch und es machte mich wahnsinnig. Ich hoffte, dass die Garantie noch greifen würde. Ich ging also zum Apple Store und sie sagten, die Garantie greift nicht, aber sie könnten eine Reparatur für 1037 € durchführen. Ich suchte im Internet, konnte jedoch keine einzige Reparaturanleitung und auch kein Video zum Ersetzen der Lautsprecher bei einem MacBook 16" finden. Es scheint eine herausfordernde Aufgabe zu sein, aber ich dachte mir, lass es uns versuchen, um anderen in Zukunft zu helfen.
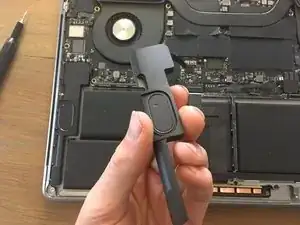
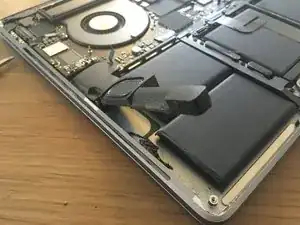
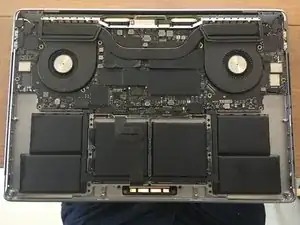
Es stellt sich heraus, dass es überhaupt nicht kompliziert ist; ich war in 20 Minuten fertig. Man muss im Grunde nur das untere Gehäuse entfernen, den Akku abklemmen und dann die Lautsprecher abklemmen und entfernen. Der einzige Nachteil ist, dass die Lautsprecher eingeklebt sind, sodass die alten Lautsprecher beim Ausbau wahrscheinlich brechen werden. Das bedeutet auch, dass der Prozess etwas heikler ist, aber es lohnt sich auf jeden Fall!
Ich hoffe, diese Anleitung hilft dir :)
-
-
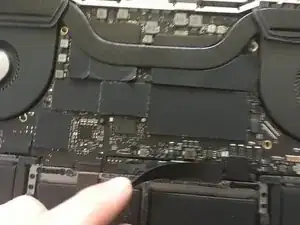
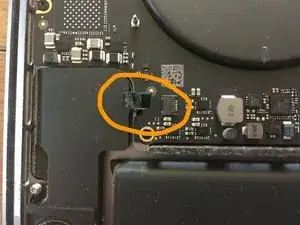
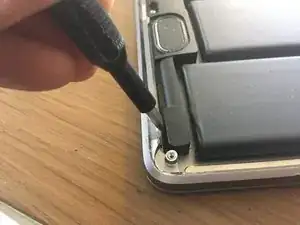
Entferne das Kabel und die große Schraube. So wird sichergestellt, dass kein Strom fließen kann.
-
-
-
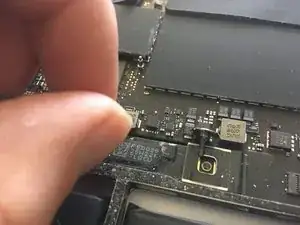
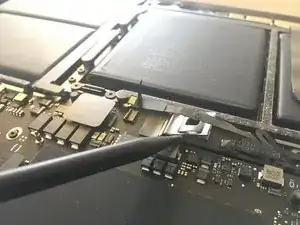
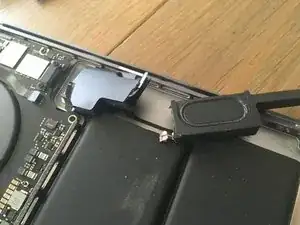
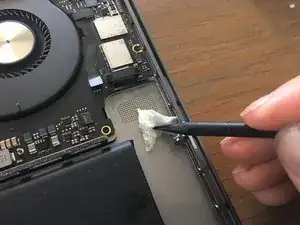
Der Ausbau der Lautsprecher ist schwierig, weil sie stark verklebt sind. Wenn du die Lautsprecher nicht weiterverwenden willst, kannst du grob vorgehen, anderenfalls musst du vorsichtig sein.
-
-
-
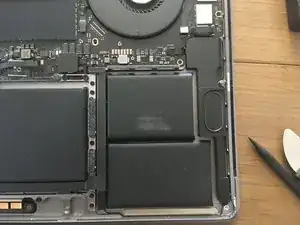
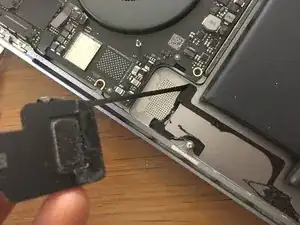
Entferne den anderen Lautsprecher auf die gleiche Weise. Zwänge das Werkzeug unter den Lautsprecher und heble ihn heraus.
-
-
-
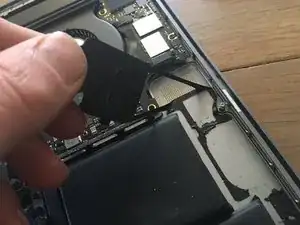
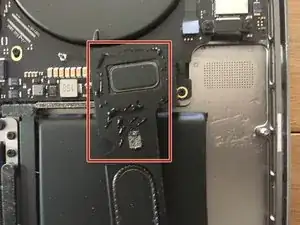
Der Kleber kann leicht abgezogen werden. Eventuell musst du ihn vorsichtig mit einem Werkzeug abschaben.
-
-
-
Beseitige die Kleberreste mit hochkonzentriertem Isopropylalkohol und einem fusselfreien Tuch.
-
Lasse die Klebefläche gut abtrocknen.
-


Um dein Gerät wieder zusammenzubauen, folge diesen Anweisungen in umgekehrter Reihenfolge.
10 Kommentare
I just created an account to thank you,
I bought the speakers from ifix it, and I did follow your guide, and it worked perfectly.
so I joined here to thank you.
your guide helped me a lot. I appreciate the effort.
appreciate that. Happy to hear its useful :)
This was very helpful... I managed to successfully replace mine... but unfortunately on step 5 I made the mistake of scuffing the battery, revealing the aluminum layer inside and it gave off a sweet smell (which i now understand is dangerous)
Painfully had to have the battery replaced for about 300$ (I'm in Nairobi, Kenya)
Maybe update the steps to avoid the nearby battery which is really sensitive.
Cheers
leemalu -
Thank you for this! I broke my speaker when following a different iFixIt guide, but your instructions saved the day. $49 is even for the replacement speaker from iFixIt is even cheaper than the deductible on my insurance plan through GetAkko, so this one was a no-brainer. Thank you, internet stranger!
Peter -
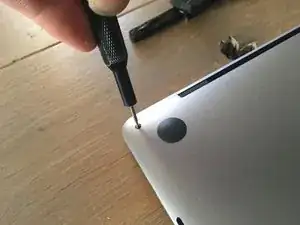
Use this screwdriver P5 Pentalobe Screwdriver Retina MacBook Pro and Air
Luca Doehling -