Einleitung
Verwende diese Anleitung, um die Display-Einheit deines Motorola Droid Turbo auszutauschen. Wenn die Display-Einheit, die du austauschen möchtest, keinen Ohrhörer-Lautsprecher enthält, musst du den vorhandenen übertragen.
Ersatzteile
-
-
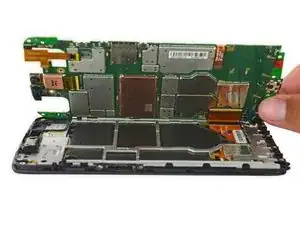
Bereite einen iOpener vor und lege ihn über die Rückseite um die Klebeverbindung darunter aufzuweichen.
-
-
-
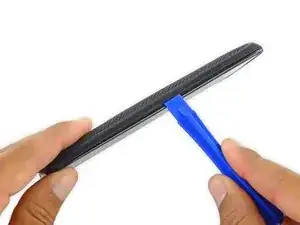
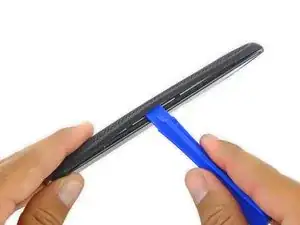
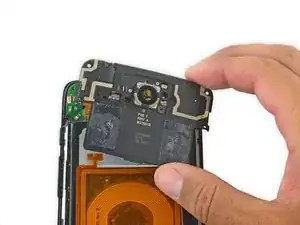
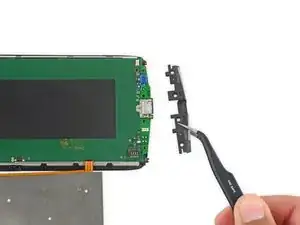
Benutze einen Jimmy, um unter dem Lautsprecher zu hebeln und ihn anzuheben, um ihn zu entfernen.
-
-
-
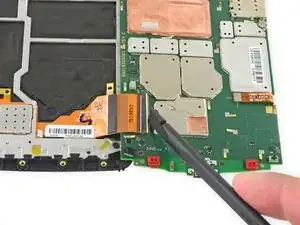
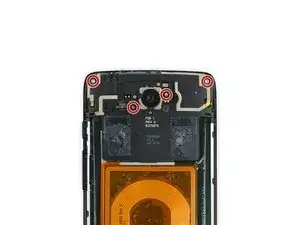
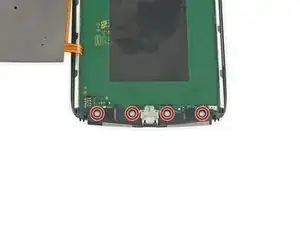
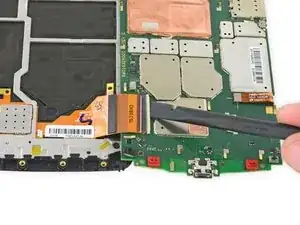
Entferne die vier Torx T5-Schrauben, mit denen die untere Antennen-Platine an dem Motherboard befestigt ist.
-
-
-
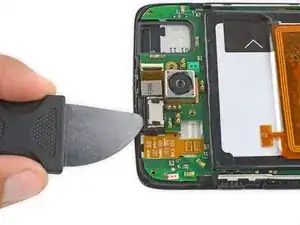
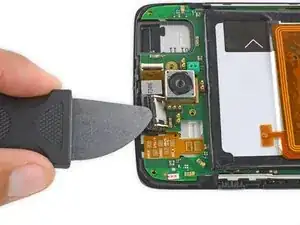
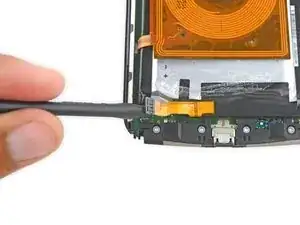
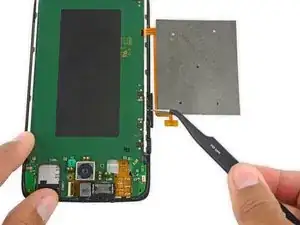
Benutze das flache Ende eines Spudgers, um den Sicherungsbügel am ZIF-Anschluss des Displays hochzuklappen.
-
Ziehe das Display-Flachbandkabel aus dem Anschluss heraus.
-


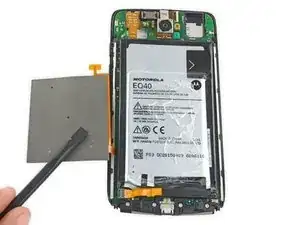
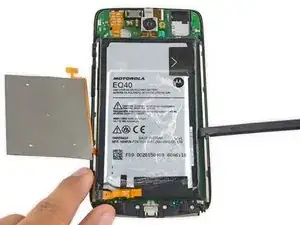
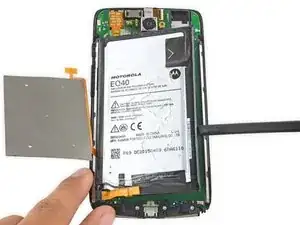


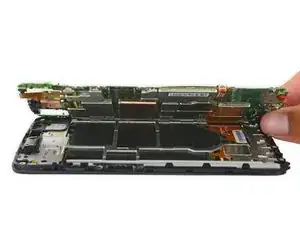

Um dein Gerät wieder zusammenzubauen, folge den Schritten dieser Anleitung in der umgekehrten Reihenfolge.

8 Kommentare
This has a bunch of unecessary steps and is missing so,e just kinda bricked my phone thanks to this
Yep. It repeats a bunch of steps, and seems to switch from replacing the display to replacing the motherboard. :(
has anyone ever had the buttons break on this phone? i know on my old droid maxx one little mistake when putting the board in the metal frame was enough to break the volume buttons.
You don’t need to remove the battery from the board…the whole thing comes up as one.
This di not work; I had to use a blow dryer.
Caroline Downie -