Einleitung
Mit dieser Anleitung kannst du den O-Ring deines Nest Hello austauschen, wenn dieser durch Wetter oder beim Zerlegen beschädigt wurde. Alles was du brauchst sind die iFixit Öffnungswerkzeuge.
Es empfiehlt sich, den O-Ring nach jeder Zerlegung des Geräts auszutauschen, da er sehr leicht dabei gequetscht oder zerrissen werden kann.
Werkzeuge
-
-
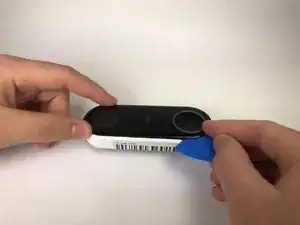
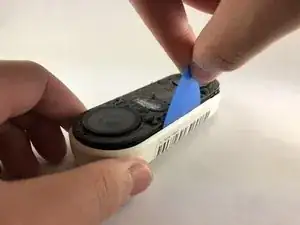
Schiebe ein Plektrum zwischen die schwarze Vorderseite und das weiße Gehäuse des Nest Hello.
-
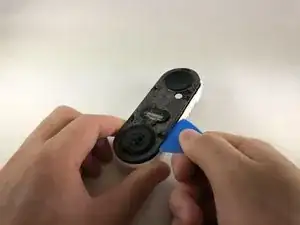
Heble die Vorderseite mit dem Plektrum vom Gehäuse weg.
-
Entferne nun die Vorderseite komplett vom Gerät, zögere nicht, hier fest zu ziehen.
-
-
-
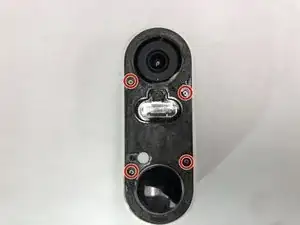
Entferne die Aufkleber und benutze einen Kreuzschlitzschraubendreher #000, um die vier Schrauben zu entfernen.
-
-
-
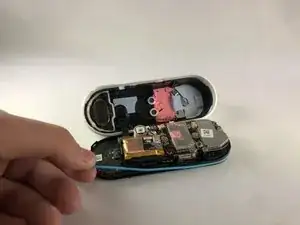
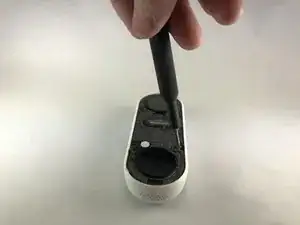
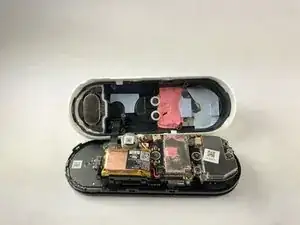
Schiebe ein Plektrum zwischen das weiße Gehäuse und die schwarze interne Platine, um diese heraus zu hebeln.
-
-
-
Entferne den (blau gefärbten) O-Ring aus dem Gerät. Er liegt am Rand um die Hauptplatine herum.
-

Um dein Gerät wieder zusammenzubauen, folge der Anleitung in umgekehrter Reihenfolge.

2 Kommentare
Is there a link available for spare replacement parts? I can’t seem to find anything other than replacement internal batteries . Thanks!
Also looking for this replacement part. Googling did not produce results.
KB_KB -
I had to use a metal spudger tool to start and then used guitar picks.
Joel Lundi -
Be afraid to pull hard. The faceplate will break in two.
B Bremer -
I did the JerryRigEverything method and slipped a razor under the faceplate to separate it carefully from the body. Worked perfectly and nothing was damaged
There I Fixed It -
Be careful with the wiring and the heater element. I must have shorted something together when it put it back together and now it will no longer power up. It is probably best to cut the wires to the heater and deal with the consequences in the cold temperatures.
Joe I. Fabritz -
The secret I think is slicing through the adhesive. I shoved multiple picks in and worked my way around. You want to cut the adhesive. Prying is likely to break the faceplate. The big hint is the next picture in the step, seeing where the adhesive is.
Arnold de Leon -