
Einleitung
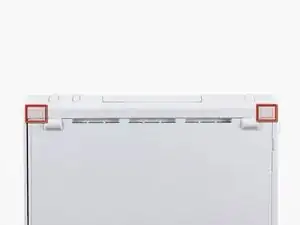
Hier wird der Austausch der Frontplatte gezeigt. Dabei wird auch die blaue LED gewechselt, die den Einschub des optischen Laufwerks beleuchtet.
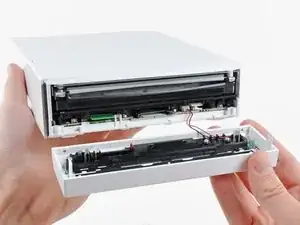
Ersatzteile
-
-
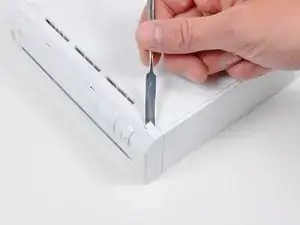
Entferne mit einem Metallspatel die weißen Schraubenabdeckungen, die im Gehäuse unten an der Vorderseite des Wii stecken.
-
-
-
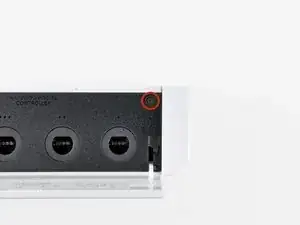
Entferne die einzelne 5,9 mm Kreuzschlitzschraube unter der Klappe für den Eingang des Controllers gleich bei der Frontplatte.
-
-
-
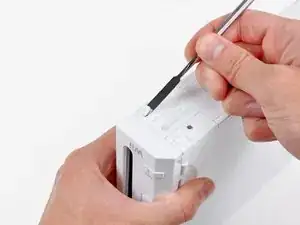
Entferne mit einem Metallspatel den Gummifuß auf der Seite der Wii in der Nähe der Öffnung des DVD Laufwerks.
-


Abschluss
Um dein Gerät wieder zusammenzusetzen, folge den Schritten in umgekehrter Reihenfolge.

Die Abdeckungen sind geklebt, stecken also nicht.
Ludger -
Don’t mistakenly remove the rubber case feet
Bob Trout -
I just did. That picture could be better.
B G -
Thanks I almost removed the rubber feet
Lushane -
If you’re wondering what to use for this, the main blade of a pocket knife from the corner of the plastic works well.
Cameron Holman -
As you remove the hardware in each step, place them together on a sheet of paper and circle them with the step number.
Tom J -
Very helpful suggestion, thanks!
Christopher Reese -
Caution: Before you begin disassembly. If possible, power on your Wii, and attempt to eject whatever disk you may have in the drive.
Steve -
1:
I'd recommend removing the RTC Battery before starting to completely remove all power. You can see how in step 15.
2:
When removing the screw covers I'd recommend inserting tweezers in the bottom corners facing away from the rubber feet.
When the tweezers are inserted you should push them down to grab on to the cover and pull it off.
Macro Man -