Einleitung
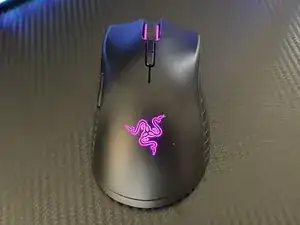
Hast du schon einmal eine neue Razer Mamba Maus gekauft, weil das Mausrad nicht funktioniert oder sie ruckelt wie eine alte Maus?
Diese Anleitung wird dir helfen Geld zu sparen, indem sie dir zeigt, wie du ein ruckelndes Mausrad reparieren kannst, ohne dass du gleich die ganze Maus austauschen musst. Alles was du dazu braucht, sind ein paar Utensilien und Wasserstoffperoxid. Diese Anleitung wird sehr einfach sein, aber deine Maus wieder wie eine neue funktionieren lassen, ohne dass du eine neue kaufen musst.
-
-
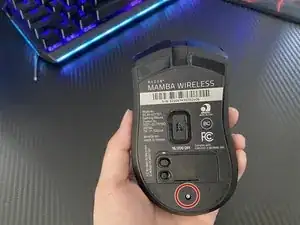
Entferne die einzelne Schraube mit einem Kreuzschlitzschraubendreher #000.
-
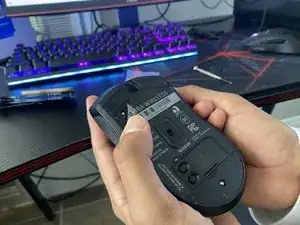
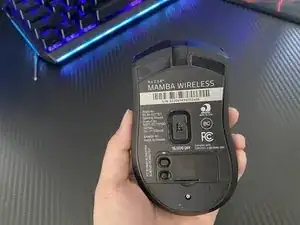
Ziehe den Aufkleber auf der Maus ab, um die zwei Schrauben darunter freizulegen.
-
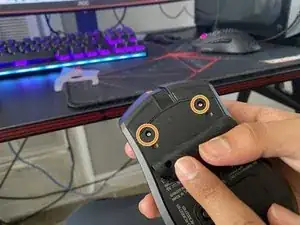
Entferne die beiden Schrauben mit einem Kreuzschlitzschraubendreher #000.
-
-
-
Verwende ein iFixit Öffnungswerkzeug, um deine Maus aufzuhebeln.
-
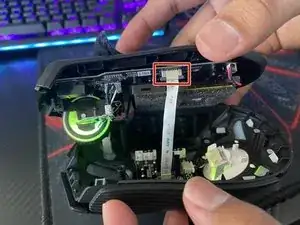
Nimm das Flachbandkabel ab, indem du die zwei grauen Laschen drückst und es dann vorsichtig herausziehst.
-
-
-
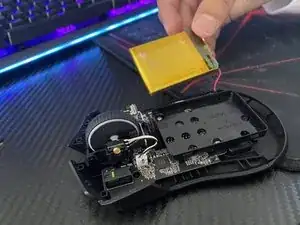
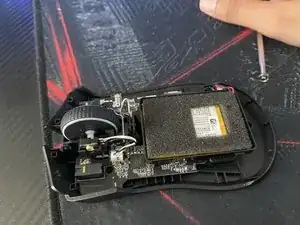
Hebe den Akku mit den Händen aus der Maus.
-
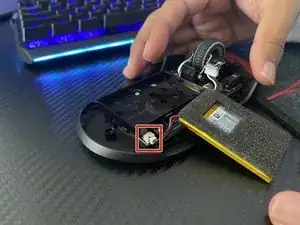
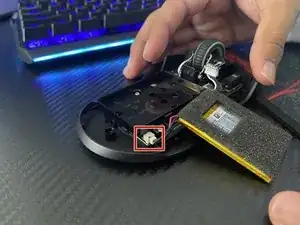
Verwende nun deine Finger, um das Kabel von der Maus zu trennen.
-
-
-
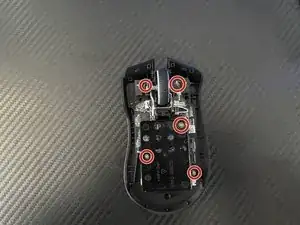
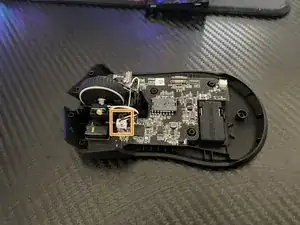
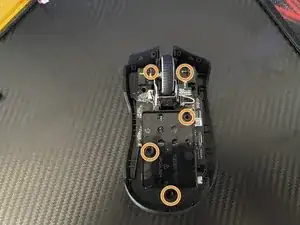
Entferne die fünf 1,4 mm Schrauben mit einem Kreuzschlitzschraubendreher #000.
-
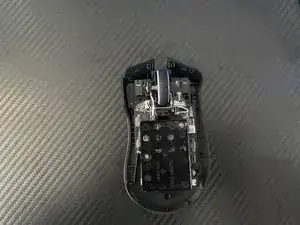
Löse das Kabel, das am Mausrad befestigt ist.
-
-
-
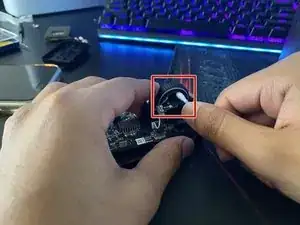
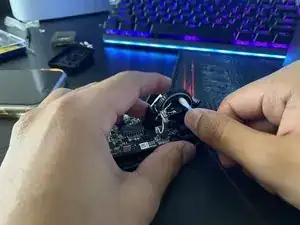
Tauche ein Wattestäbchen in das Wasserstoffperoxid.
-
Reinige das Mausrad, indem du es mit dem Wattestäbchen rumherum abtupfst.
-
-
-
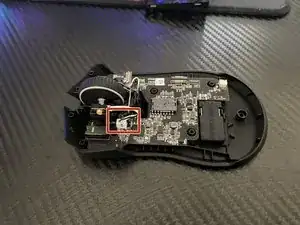
Setze den Draht wieder in seinen Anschluss ein.
-
Setze die fünf 1,4 mm Schrauben ein und drehe sie mit einem Kreuzschlitzschraubendreher #000 fest.
-
-
-
Stecke das Akkukabel wieder zurück in die Klinke.
-
Setze den Akku wieder in den Akkuhalter ein.
-
-
-
Stecke das Kabel zurück in den Stecker.
-
Schraube die drei Schrauben mit einem Kreuzschlitzschraubendreher #000 fest.
-
Befestige wieder den Aufkleber auf den oberen beiden Schrauben.
-


3 Kommentare
Listen screw driver is incorrect. Poor disassembly instructions that can easily lead to further irreparable damage to the mouse. Incredibly disappointing
Cry me a river! If the screwdriver is incorrect i.e., doesn't fit into the screw correctly, don't attempt to make it work but instead try a different sized screwdriver. Wow! What a concept! Quit with the dramatics and just be glad that Kevin took the time to make this guide.
Thank you for the teardown guide.
For anyone attempting this I have a couple notes to help you.
1. Unless you need to clean under the battery you DO NOT need to remove the battery and unscrew the 5 #000 Philips screws. As stated in this guide. This step is pointless and there is no need to take the time doing this. The screw seated to the left of the scroll wheel housing is crazy difficult to put back - unless you have tweezers. The scroll wheel can be cleaned without this step!
2. The 3 screws securing the mouse housing/body under the stickers are NOT #000 Phillips, they are T6 Star heads.
I completed this fix, but my scroll wheel still glitches and has a ton of jitter. I'm convinced this is a hardware/design issue.
JacobD -
External three screws are all T6 screws. You also have to remove the bottom pad, and the top sticker has two layers - make sure you peel the main sticker and not the surface clear sticker.
A S -