Einleitung

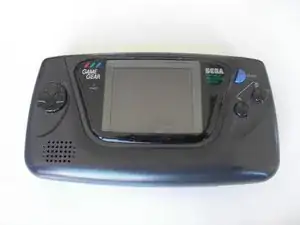
Diese Anleitung zeigt, wie das Display im Sega Game Gear ausgetauscht wird.

  1. GE4hFNKZvRP6LuIs
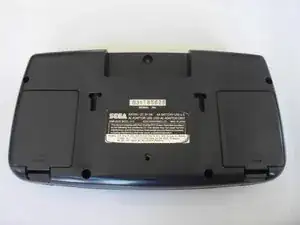
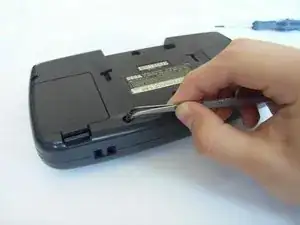
    • Lege den Game Gear mit der Unterseite nach oben auf die Arbeitsfläche. Die beiden Batteriefachdeckel sind links und rechts zu sehen.

  2. wk6apkXh6aBe4Fko
    • Drücke die Laschen an den Deckeln ein und löse die Deckel ab.

    • Entferne die Batterien.

  3. ZwWPJlkOVdRUkrHt
    • Entferne folgende Schrauben:

    • Sechs Kreuzschlitzschrauben

    • Eine 4,5 mm Gamebit-Schraube.

    It says remove 7 Philips screws, the picture shows 6 but one is incorrect.

    The thread below the label has no screw, but there is another one in the other battery compartment.

    The hole below the label is for a security bolt when stores put them on display.

    rs.beast -

    The screw hole in the bottom center is for the PowerBack. Also there are not 7 screws there are only 6

    Electrohacker -

  4. qlQqEHOHMsAt4FhO
    • Nimm alle Schrauben mit einer Pinzette heraus.

  5. MObZFuW56bTkQXfc
    MObZFuW56bTkQXfc
    ZREuCW4S2LlsMYJq
    • Klappe die Bodenplatte vorsichtig über die Oberkante auf.

    • Ziehe die Bodenplatte noch nicht ganz weg, sie ist noch mit Kabeln am Gerät angeschlossen.

  6. InIEN2SBlf6QdGoL
    InIEN2SBlf6QdGoL
    XAkFtNnNMUEqTGp2
    YPTXrRwwN3ol62RE
    • Ziehe vorsichtig die beiden weißen Kabelstecker im Oberteil ab.

    Il faut aussi débrancher le connecteur du haut parleur (2 broches, en haut à droite).

    Arnaud Melun -

    There is a third cable on the right side of the top half in this picture which is the speaker. Unplug that too.

    Electrohacker -

  7. 2Gtomp4hNQnClkUd
    • Drehe alle markierten Schrauben heraus.

    There are two more screws at the top just to the left and right of the screen you can see clearly in this photo (the ones on the green PCB, not the ones on the screen support). Unscrew those too. All the screws have a white circle printed around them.

    Electrohacker -

  8. u3ZTnGHLCUedjahZ
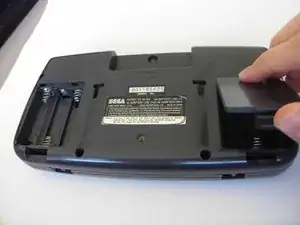
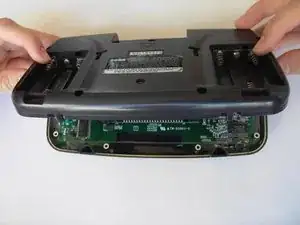
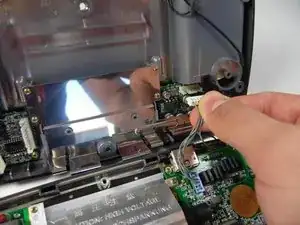
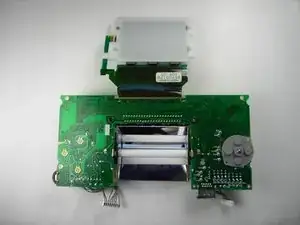
    • Die Hauptplatine wird mit einer runden Befestigung in der oberen linken Ecke des Gehäuses festgehalten. Ziehe sie darunter heraus.

    There is no circular black fastener. It's the brightness control wheel and it's attached to the board.

    rs.beast -

  9. FA2kgKTpjQDDeXdJ
    • Lege die Platine auf eine glatte Oberfläche.

    • Es kann sein, dass kleine Tasten aus Kunststoff herausfallen. Bewahre sie gut auf, z.B. in einer kleinen Schachtel.

    There is a gasket around the screen which may also stick to the screen. Be careful not to lose, stretch, or damage that.

    Electrohacker -

  10. BKiXBcWmDXFJJ1QK
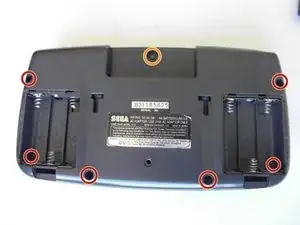
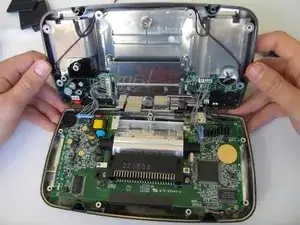
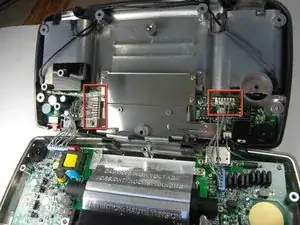
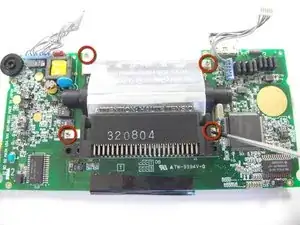
    • Drehe die markierten Schrauben heraus.

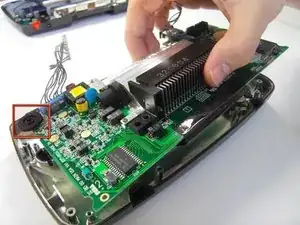
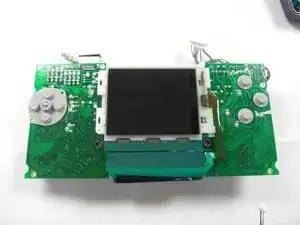
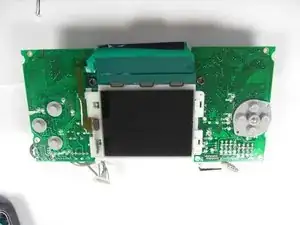
    • Drehe die Platine um, so dass die Unterseite oben liegt.

    • Halte das Display auf der Rückseite fest, es klappt sonst auf.

  11. DYtfVOxsTQCAnAyS
    DYtfVOxsTQCAnAyS
    oi135GVguAqutH6N
    • Drehe die Platine so, dass das Display wie im zweiten Bild liegt.

  12. DXMDgKRHbhfLyEJ2
    DXMDgKRHbhfLyEJ2
    nGBUmv1TwDLJqeDI
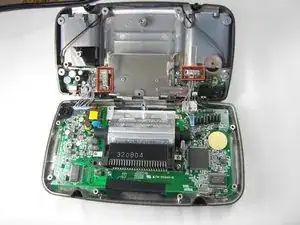
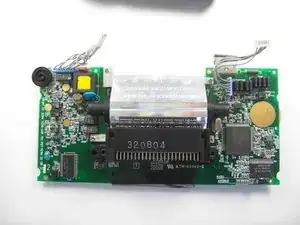
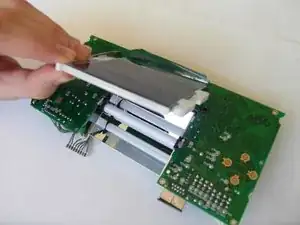
    • Klappe das Display behutsam auf.

    • Das Display ist am oberen Rand verklebt und löst sich deswegen nicht ganz ab.

Abschluss

Um dein Gerät wieder zusammenzubauen, folge den Schritten in umgekehrter Reihenfolge.

Lauren Thurston

Mitglied seit: 15/04/10

469 Reputation

9 Kommentare

any one know where to get a new display that wont bleed me dry?

isaiah bellamy (masta ike) -

Due to the nature a Game Gear screen attaches, a ribbon directly soldered to the mainboard, replacing it requires a soldering iron and some fairly advanced technique.

This guide, titled “Sega Game Gear Screen Replacement”, only takes us to the point you remove the ribbon. There is much work left.

Anthony Bessel -

so, uh, is there a more comprehensive version somewhere?

rollin -

Does the screen get fixed at the end?

Caedmon O’Brien -

SadlySadly, in step 7 you missed a screw location

talliesine -

there’s actually 2 more screws, one above the transformer and one on the left of the EXT port. this guide is sooooo incomplete, it’s a shame.

Walter Comunello -

I’d like to see a capacitor replacement guide, I’m in the process of doing my early model Game Gear.

Also, how about a screen LCD upgrade guide?

They make modern LCD’s for these that eliminate the fluorescent bulbs that suck the batteries dry in a hurry. Lol

Can’t wait to get mine back up and running after several caps started to leak, video was non-existent and sound was very low and poor.

jeffrey griffith -

this guide is stupid

Stephen Smith -

so in conclusion this is half a guide

Stephen Smith -