
Einleitung
Wenn du Probleme mit dem Akku deines Sonos Roam hast, er z.B. nicht lädt oder seine Ladung nicht lange hält, dann hilft dir diese Anleitung beim Austausch des Akkus.
Die Aufgabe des Akkus ist es, für Energie zu sorgen. Dazu kann er aufgeladen werden.
Bevor du dich ans Reparieren machst, überprüfe, ob dein Ladegerät kompatibel und das USB-Kabel in Ordnung ist. Versuche auch noch einen Neustart des Gerätes.
Bei manchen Schritten wird ein iOpener empfohlen (nicht zwingend). Damit wird das Lösen des Klebers erleichtert, mit denen manche Teile verbunden sind. u Hier erfährst du, wie der iOpener richtig verwendet wird.
-
-
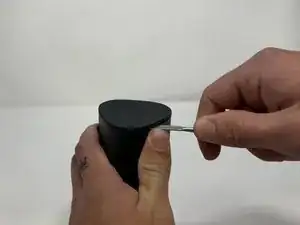
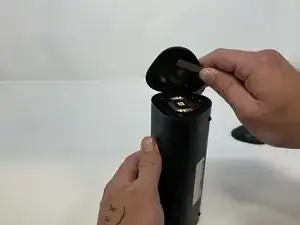
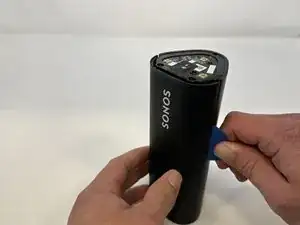
Nimm einen Spudger und heble die Abschlusskappe mit den Tasten hoch.
-
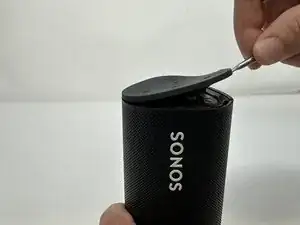
Heble ringsum, um den Kleber zu lösen.
-
-
-
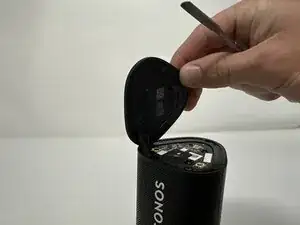
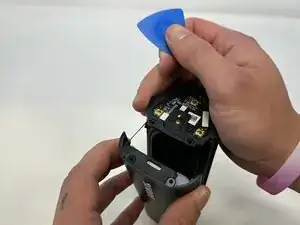
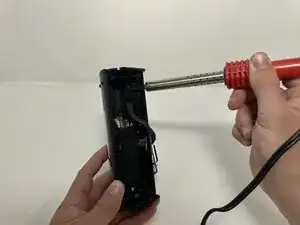
Drehe das Gerät um, so dass die andere Kappe oben ist.
-
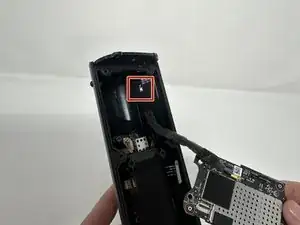
Löse den Kleber mit dem Metallspudger ab.
-
-
-
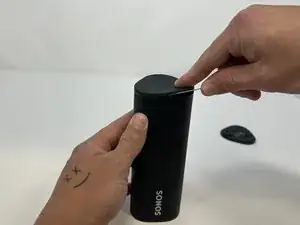
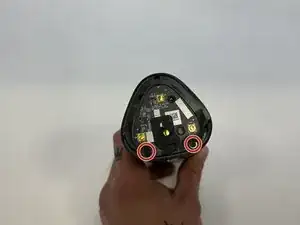
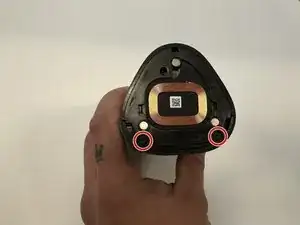
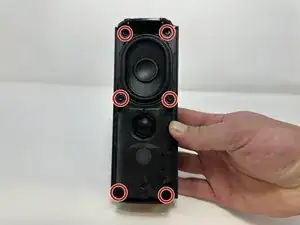
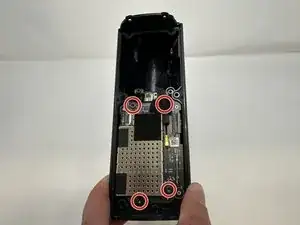
Stelle das Gerät so ab, dass das Sonos Logo oben ist.
-
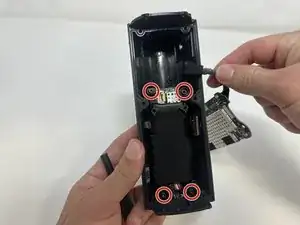
Entferne die beiden 6 mm Torx T6 Schrauben.
-
-
-
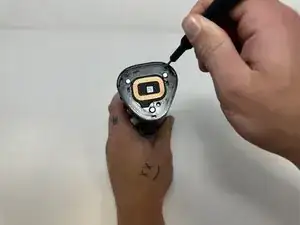
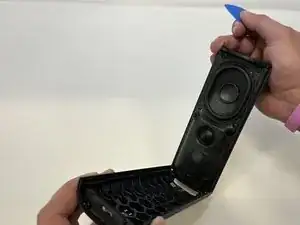
Drehe das Gerät wieder um, so dass das Sonos Logo oben ist.
-
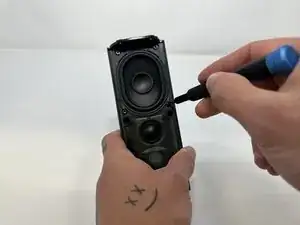
Schiebe ein Plektrum in den Spalt zwischen dem Lautsprechergitter und dem restlichen Lautsprecher ein und heble das Lautsprechergitter ab.
-
-
-
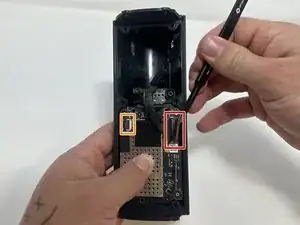
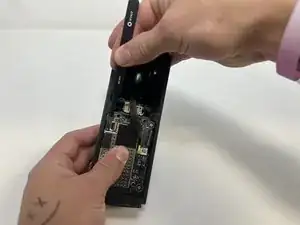
Klappe den Sicherungsbügel am breiten Flachbandkabel mit einer Pinzette hoch.
-
Fasse das breite Flachbandkabel mit der Pinzette und ziehe es nach oben aus dem Anschluss heraus.
-
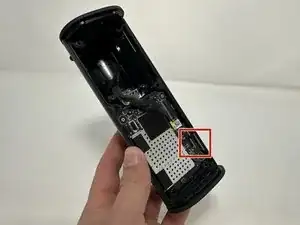
Klappe den Sicherungsbügel am schmalen Flachbandkabel mit einer Pinzette hoch.
-
Fasse das schmalen Flachbandkabel mit der Pinzette und ziehe es nach oben aus dem Anschluss heraus.
-
-
-
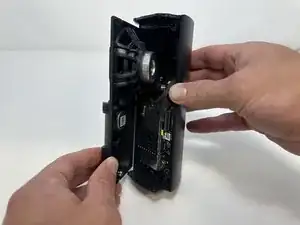
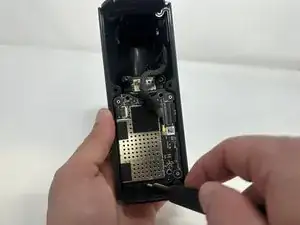
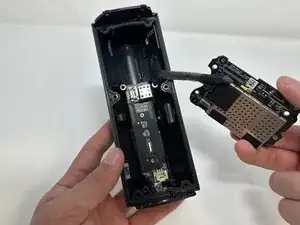
Fasse das Metallstück, welches an der Hauptplatine befestigt ist.
-
Ziehe es nach oben und entferne die Hauptplatine.
-
-
-
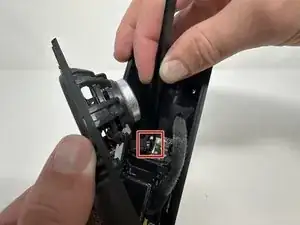
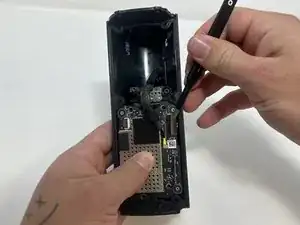
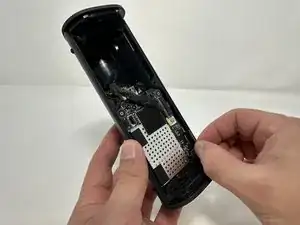
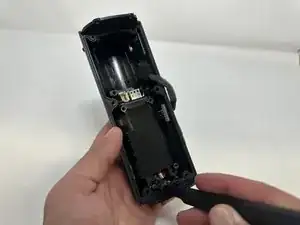
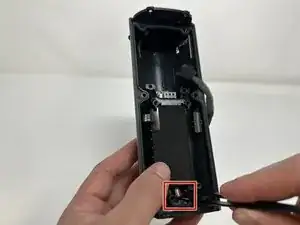
Drücke den Stecker in der Mitte fest mit einer Pinzette zusammen.
-
Ziehe den Stecker aus seinem Anschluss heraus.
-
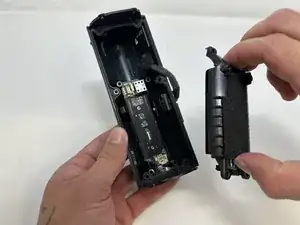
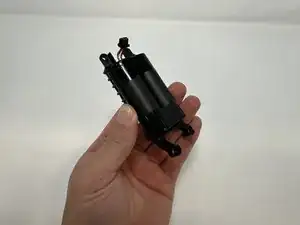
Entferne den Akku vom Gerät.
-

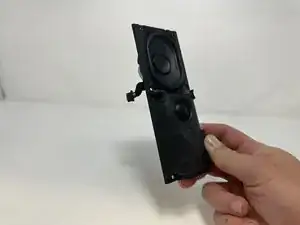


Um dein Gerät wieder zusammenzubauen, folge den Schritten in umgekehrter Reihenfolge.

13 Kommentare
Great guide. Do you have information on the battery needed? I dont see one available from Sonos, so I presume a 3rd party is required?
mt -
Mit welchem Kleber befestige ich die Abschlusskappen nach Abschluss des Akkutausch am besten wieder?
DocHofer -
Fantastic instructions, saved my roam from being a brick. iOpener is worth every penny! Not a paid advertisement
msdavis4 -
What about IP67 rating? Am I going to lose the water resistance rating if I do not reapply some glue or additional adhesive when reassembling things back?
Askar -