
Einleitung
Es handelt sich hierbei um die glänzende Rückseite deines iPods.
Werkzeuge
-
-
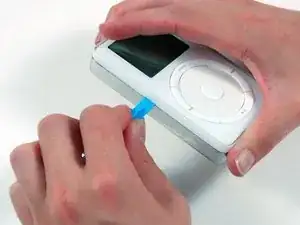
Schiebe das iPod-Öffnungswerkzeug aus Kunststoff an der Kante zwischen die weiße Kunststoffvorderseite und die Metallrückseite des iPods. Führe ihn einmal um den iPod herum, sodass alle fünf Häkchen, die den iPod zusammen halten, gelöst sind.
-
-
-
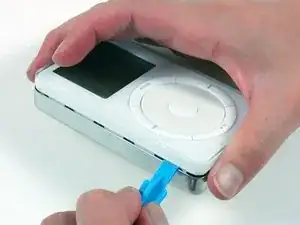
Führe das Öffnungswerkzeug weiter an der Seite des iPods entlang, um alle fünf Häkchen zu lösen.
-
-
-
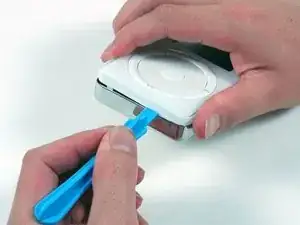
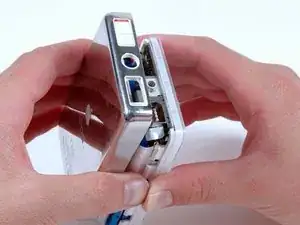
Arbeite um dich langsam um die Ecke des iPods und löse die zwei Häkchen nahe am Dock-Verbinder.
-
-
-
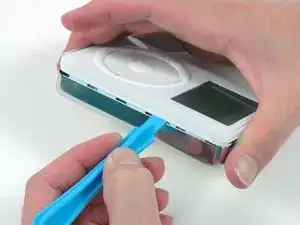
Löse die fünf Häkchen, die den iPod zusammenhalten. Möglicherweise kannst du durch leichtes Wackeln an der Vorderseite die restlichen Häkchen lösen.
-
-
-
Hebe nun die Rückseite vom iPod ab, aber pass auf, dass du nicht am Kopfhöreranschluss hängen bleibst.
-
Um dein Gerät wieder zusammenzubauen, folge den Schritten dieser Anleitung in umgekehrter Reihenfolge.

2 Kommentare
According to this site: https://www.lifewire.com/history-ipod-cl.... The thickness of the various HD sizes is different.
“4 x 2.4 x 0.78 inches - 5 GB Model
4 x 2.4 x 0.72 inches - 10 GB Model
4 x 2.4 x 0.84 inches - 20 GB Model”
It makes some sense from other information I’ve read, but I don’t find any discussion of a thick and thin version. Is the back for the 20GB model thicker/deeper than the 10GB model? Thanks for another great guide.
no, the model is same. but 2gen is a little thicker than 1 gen. apple use diffrent types of rubber cushion to fits in it. if you want change a bigger disk, make sure there is enugh space for battery
张兴潼 -