Einleitung
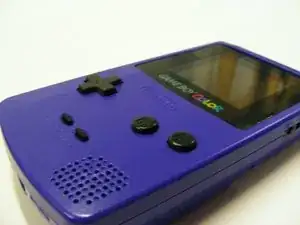
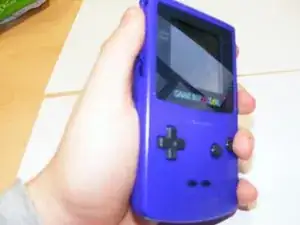
Das ist mein Teardown des Game Boy Color.
-
-
Nimm den Game Boy und schaue, wie die Bauteile im Spritzgussverfahren hergestellt worden sind. Das erste, das zu tun ist, ist, die beiden Bauteile voneinander zu separieren.
-
-
-
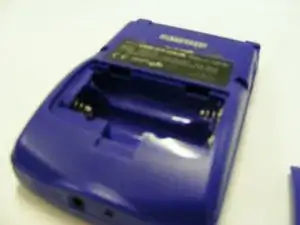
Entferne das Akkugehäuse des Game Boys und nimm alle Akkus heraus, die noch drin liegen. Jetzt gibt es nur noch die Gehäuserückseite.
-
-
-
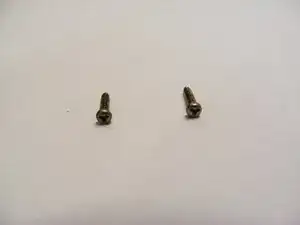
Die zwei Schrauben auf der Oberseite der Gehäuserückseite können entfernt werden, indem du einen Y Dreikant-Schraubendreher benutzt.
-
-
-
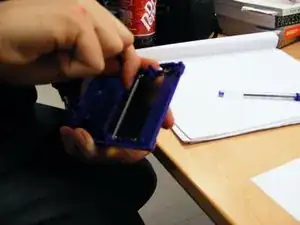
Die zwei Gehäuseteile sind ineinandergeklickt, also wirst du etwas zum Hebeln benutzen müssen, wenn du sie auseinanderklicken willst.
-
-
-
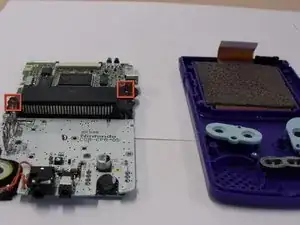
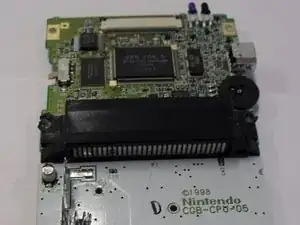
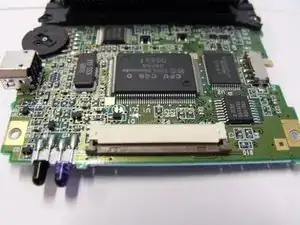
Um die Hauptplatine zu entfernen musst du nur die vier Schrauben auf der Rückseite entfernen. Wenn du das getan hast, kannst du die Platine aus der Kunststoffhülle herausnehmen.
-
-
-
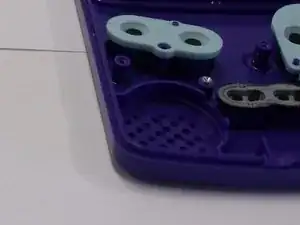
Die Metallkassette auf dem rückseitigen Kunststoffgehäuse kann einfach entfernt werden, indem du einen kleinen Schraubendreher in allen vier Ecken verwendest. Es sollte danach direkt herausspringen.
-
-
-
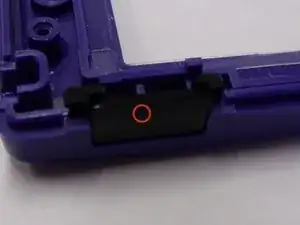
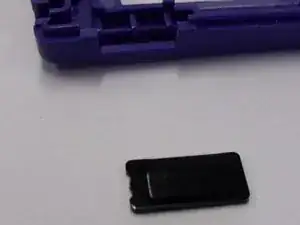
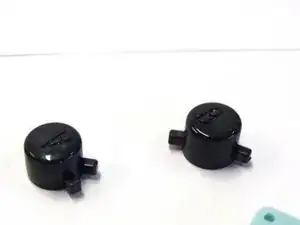
Der kleine Kunststoffschalter sollte aus dem Kunststoffgehäuse herausfallen. Stelle sicher, dass du ihn nicht verlierst, wenn du den Game Boy öffnest.
-
-
-
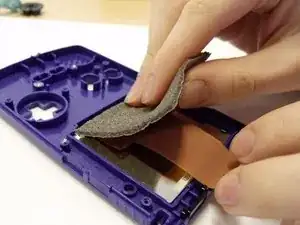
Du kannst den Schaum einfach von der Rückseite des Bildschirmes, indem du den Klebstoff abziehst, entfernen. Versuche, den Schaum nicht zu zerreißen, weil das Dinge hinterher erschweren würde.
-
-
-
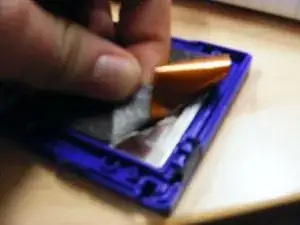
Wenn der Schaum weg ist, kannst du die Hauptverbindung des Bildschirmes abziehen. Das ist der braune Teil der Kunststofffolie. Sie rutscht einfach heraus.
-
-
-
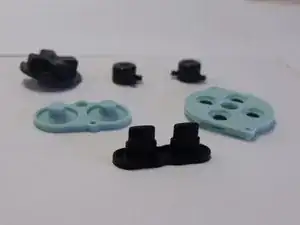
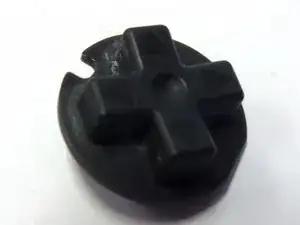
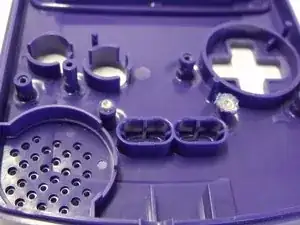
Die Gummiknöpfe können einfach abgezogen werden. Sie sind nicht befestigt, benötigen aber ein wenig Zug.
-
-
-
Die ganzen anderen Knöpfe sollten einfach herausfallen. Sei vorsichtig, dass du sie nicht fallen lässt oder verlierst, weil sie definitiv herauskommen werden.
-
-
-
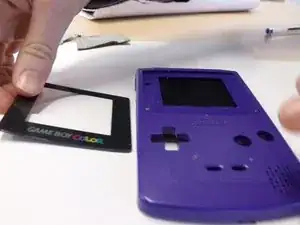
Ziehe den Bildschirm aus dem Game Boy heraus und nehme die vordere Kunststoffverkleidung ab und lege sie zur Seite.
-
-
-
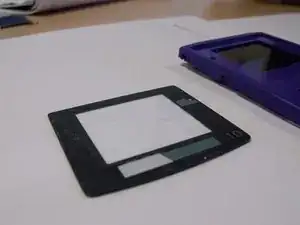
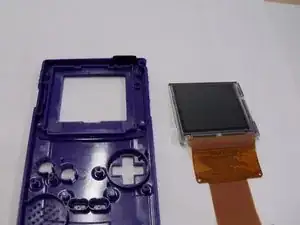
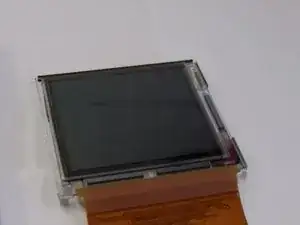
Ziehe die Schutzfolie vom LCD Bildschirm ab und entferne den LCD Bildschirm aus dem Gehäuse.
-
-
-
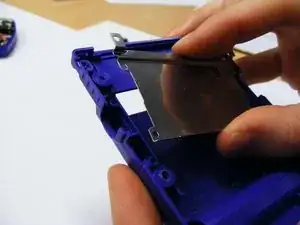
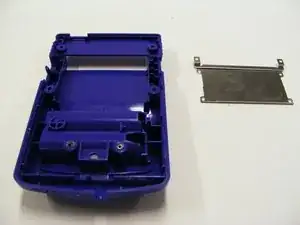
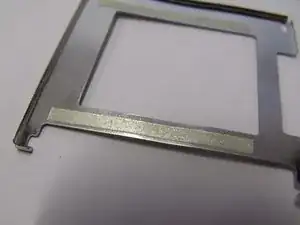
Das Metall am Bildschirm kann abgezogen werden, indem man mit den Fingern unter das Metall (hier mit einem Klebeband markiert) fasst.
-
-
-
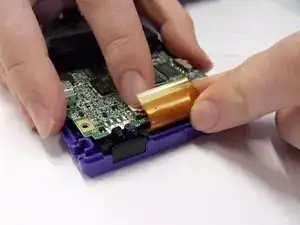
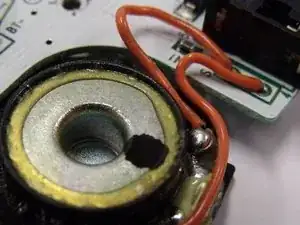
Manche Bauteile der Platine können zusätzlich entfernt und näher in Augenschein genommen werden, wie z.B. die Lautsprecher und die LED Lichter des Gerätes.
-

9 Kommentare
That feel when everything turns out perfectly. ^.^ Thanks a lot for the guide! I was able to switch out a few broken/worn out bits, and now it's working like new! Super hyped! Thank you so much!
(Also, the screws that are mentioned needing a drill are regular phillips screws and, are indeed incredibly tough to get out without a drill. Though, the ones in my Gameboy were somehow already stripped pretty badly.)
Dayna -
DEFINITELY do NOT need to use a drill to open a Gameboy Color!
Exactly! I've watched plenty of repair and restoration videos regarding Gameboy Color systems and NONE of them use a drill
The 6 screws to open the case ARE NOT PHILLIPS! They are Tri-Wing, a Y shaped driver, not + shaped. If you use a phillips head screwdriver, you will strip them quickly, and then you actually will have to drill them out. Use the right tool every time!