
Einleitung
Benutze diese Anleitung, um ein defektes Display in einer Apple Watch Series 6 zu ersetzen.
Durch den Displaytausch kann es Probleme mit Apple Pay geben. Damit sie garnicht erst auftauchen, lösche alle Infos im Apple Pay Account, bevor du das Display tauschst und gib sie anschließend wieder ein.
In dieser Anleitung wird der Vorgang anhand einer Mobil/LTE Version der Uhr gezeigt, aber die GPS-Version ist ähnlich.
Du wirst für den Zusammenbau Ersatzklebestreifen benötigen, um die einzelnen Komponenten wieder zu befestigen.
-
-
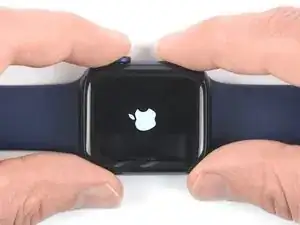
Bevor du mit der Reparatur anfängst, entferne die Uhr vom Ladegerät und schalte sie komplett aus.
-
-
-
Da der Spalt zwischen Display und Uhrengehäuse sehr schmal ist, wird eine scharfe Klinge benötigt um die beiden Teile voneinander zu trennen. Lies dir die folgenden Warnhinweise sorgfältig durch, bevor du weitermachst.
-
-
-
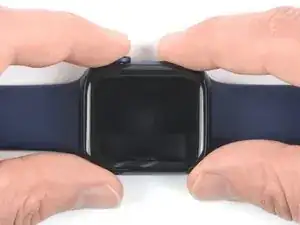
Bereite einen iOpener vor (oder benutze einen Fön oder eine Heißluftpistole) und erwärme die Vorderseite der Uhr, um den Displaykleber aufzuweichen.
-
Lasse den iOpener mindestens zwei Minuten auf der Uhr liegen, damit das Display gut erwärmt und so der Kleber, mit dem es am Gehäuse befestigt ist, aufgeweicht wird.
-
-
-
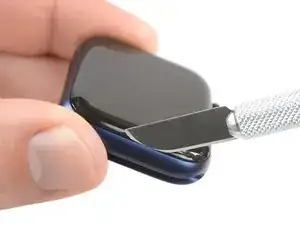
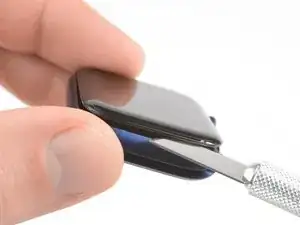
Setze die Kante einer gebogenen Klinge in die schmale Fuge zwischen Display und Außengehäuse. Beginne an der kurzen Seite des Displays, die am weitesten von der Krone entfernt ist.
-
Drücke die Klinge fest gerade nach unten in den Spalt.
-
Sobald die Klinge drinnen ist, kippe sie, um das Display leicht zu öffnen.
-
-
-
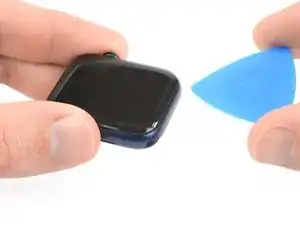
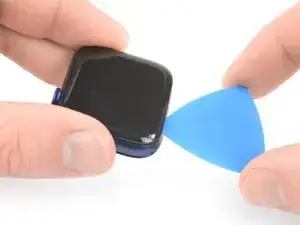
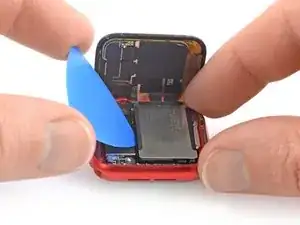
Setze ein Plektrum in den eben entstandenen Spalt.
-
Schiebe das Plektrum an der kurzen Kante der Uhr entlang, um den Kleber zu durchtrennen.
-
-
-
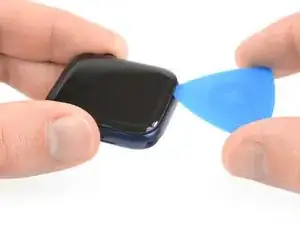
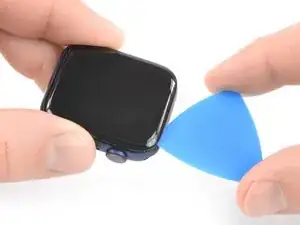
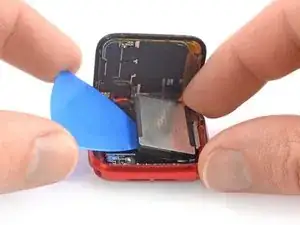
Schiebe das Plektrum um die Ecke und an der langen Kante gegenüber der Uhrenkrone entlang, um den Displaykleber aufzutrennen.
-
-
-
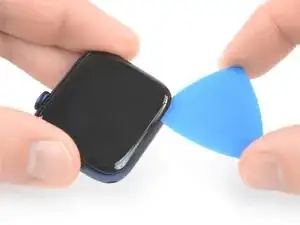
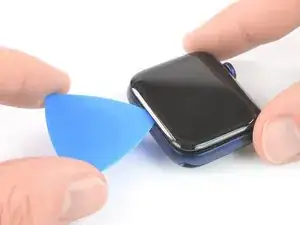
Schiebe das Plektrum um die Ecke, um den restlichen Kleber an der kurzen Kante nahe bei der Uhrenkrone zu durchtrennen.
-
-
-
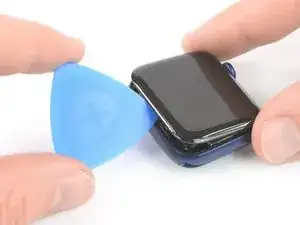
Lege die Uhr auf eine gerade Oberfläche und benutze ein Plektrum, um den restlichen Kleber durchzuschneiden.
-
Schiebe ein Plektrum unter die Displaykante, die sich gegenüber von der Uhrenkrone befindet.
-
Drehe das Plektrum, um das Display vom Uhrengehäuse abzulösen.
-
-
-
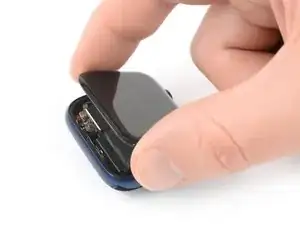
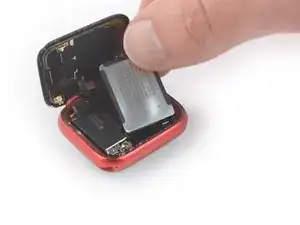
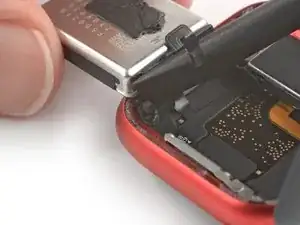
Hebe das Display an und ziehe es vorsichtig zur Uhrenkrone.
-
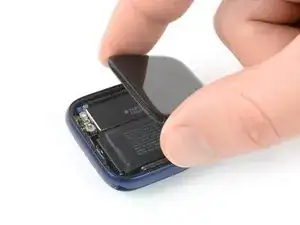
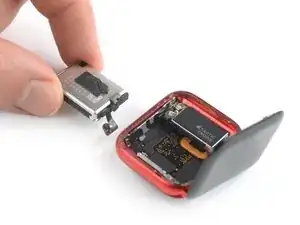
Klappe das Display hoch, sodass es aufrecht steht.
-
-
-
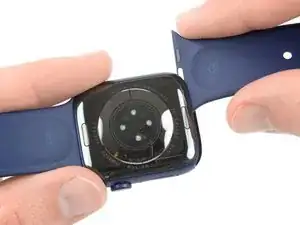
Bereite einen iOpener vor (oder benutze einen Fön oder eine Heißluftpistole) und erwärme die Rückseite der Uhr, um den Akkukleber aufzuweichen. Lasse den iOpener mindestens zwei Minuten auf der Uhr liegen.
-
-
-
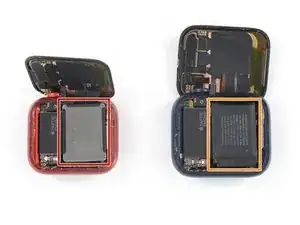
Wenn du den Akku in einer 40 mm Uhr austauschst, dann mache mit diesem Schritt weiter.
-
Wenn du den Akku in einer 44 mm Uhr austauschst, dann mache mit diesem Schritt weiter.
-
-
-
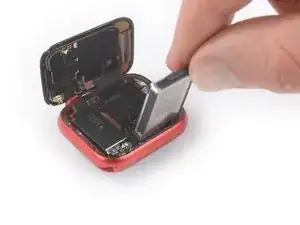
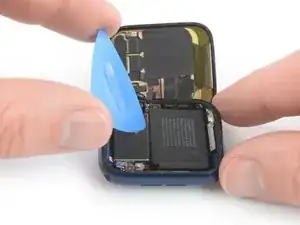
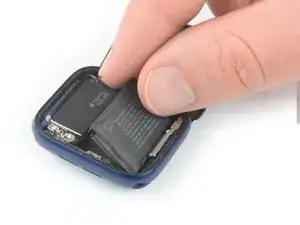
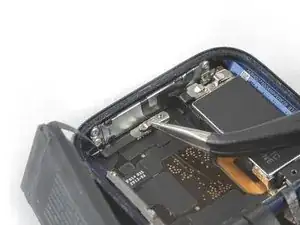
Setze ein Plektrum zwischen dem Akku und der Taptic Engine ein.
-
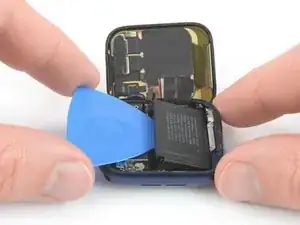
Heble den Akku langsam mit gleichmäßigem Druck hoch und löse ihn so vom Kleber ab, mit dem er am Mainboard befestigt ist.
-
-
-
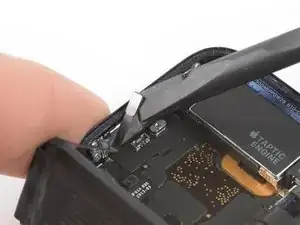
Setze ein Plektrum zwischen dem Akku und der Taptic Engine ein.
-
Heble den Akku langsam mit gleichmäßigem Druck hoch und löse ihn so vom Kleber ab, mit dem er am Mainboard befestigt ist.
-
-
-
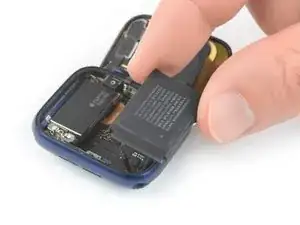
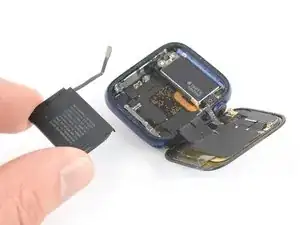
Hebe den Akku vorsichtig aus seiner Vertiefung heraus und lege ihn außerhalb des Uhrengehäuses gegenüber von der Taptic Engine ab.
-
-
-
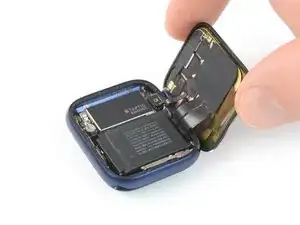
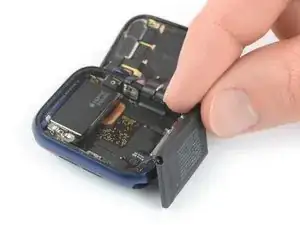
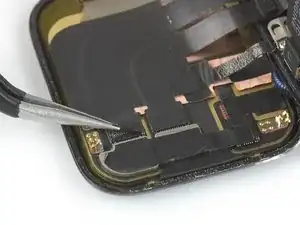
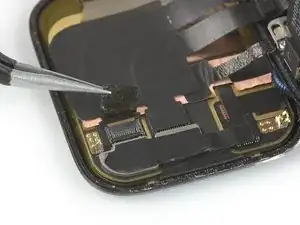
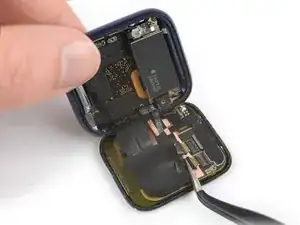
Heble die Verriegelungen an den beiden ZIF-Verbindern, mit denen die Displaykabel gesichert sind, mit der Spudgerspitze nach oben.
-
-
-
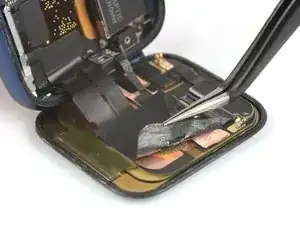
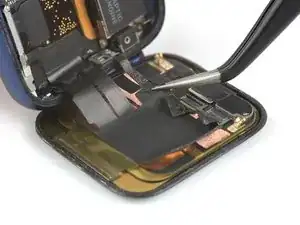
Das Display- und das Erdungskabel sind mit einem Sticker an der Rückseite des Displays festgeklebt. Löse die Kanten des Stickers behutsam mit einer Pinzette ab.
-


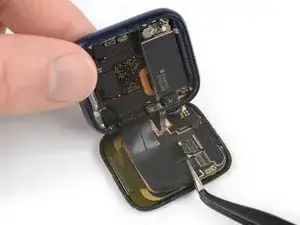

Um deine Apple Watch Series 6 wieder zusammenzubauen, folge den Schritten dieser Anleitung in umgekehrter Reihenfolge. Reinige die Kleberreste an den Kanten des Uhrengehäuses mit etwas Isopropylalkohol (>90%) und einem Wattestäbchen oder einem Reinigungstuch, bevor du die neuen Klebestreifen einsetzt.
Entsorge deinen Elektromüll fachgerecht.
Lief die Reparatur nicht wie geplant? Versuche es mit einigen grundsätzlichen Lösungsansätzen oder frage in unserem Forum nach.

24 Kommentare
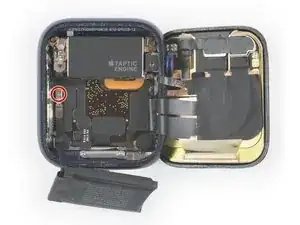
Can anyone tell me what that 3rd cable is (circled red in the pic linked below)? It’s linked to the metal back in the phone?
I think it is just a grounding wire.
Did you ever find out what that third wire is?
I want to know too, I break it while pulling the battery yesterday, but the watch seems working fine
Coco -
It’s a shield (grounding) line to control EMI noise
Dan -
Siete magnifici
Dommage qu’il n’y ai pas de lien d’une batterie à acheter ainsi qu’un lien pour trouver le joint d’étanchéité.
If you change the battery of the 44 mm Model, make sure you got the Y000 bit for the tiny screw. I have a pretty comprehensive bit set from iFixit, but that one was not included.
AD161 -