Einleitung
Diese Anleitung wurde von iFixit-Mitarbeiter:innen verfasst und ist keine offizielle Reparaturanleitung von Google. Hier erfährst du mehr über unsere Qualitätsstandards.
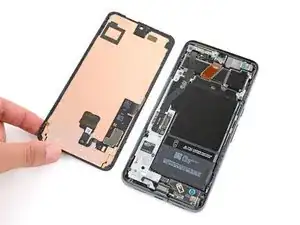
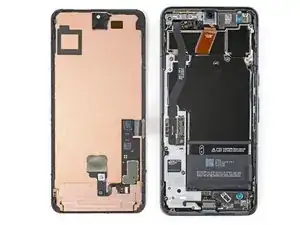
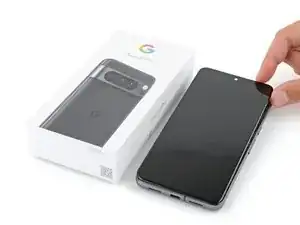
Diese Anleitung zeigt, wie du ein defektes Display im Google Pixel 8 Pro austauschen kannst.
''Zum Befestigen von Bauteilen während des Zusammenbaus benötigst du
Ersatzklebestreifen.''
-
-
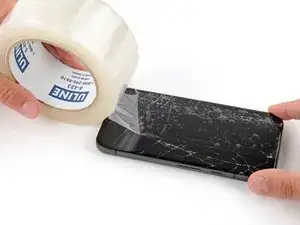
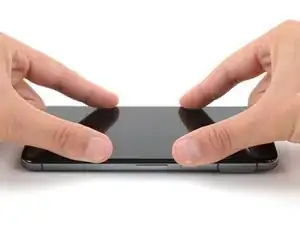
Klebe überlappende Lagen Paketklebeband über das zerbrochene Glas, bis der gesamte Bildschirm mit Klebeband bedeckt ist.
-
Trage eine Schutzbrille, um deine Augen vor Glassplittern zu schützen, die sich während der Reparatur lösen könnten.
-
-
-
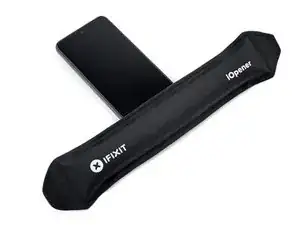
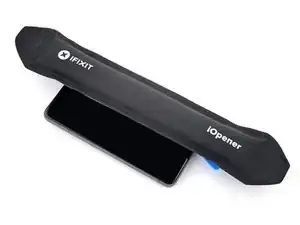
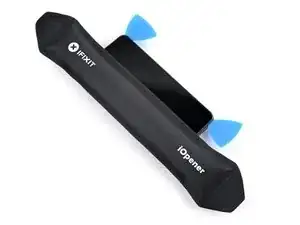
Lege einen erwärmten iOpener zum Aufweichen des Klebers zwei Minuten lang auf die Unterkante des Displays.
-
-
-
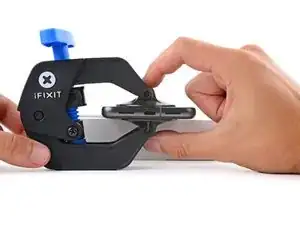
Ziehe den blauen Griff nach hinten, um die Arme der Anti-Clamp zu entriegeln.
-
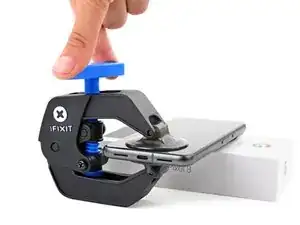
Lege das Smartphone mit dem Display nach oben so auf einen Gegenstand ab, dass es zwischen den Armen der Anti-Clamp aufliegt, die Unterkante sollte herunterhängen.
-
Schiebe die Arme über die linke Kante deines Smartphones, so dass du an die Unterkante herankommst.
-
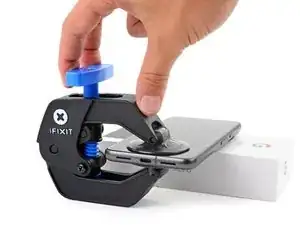
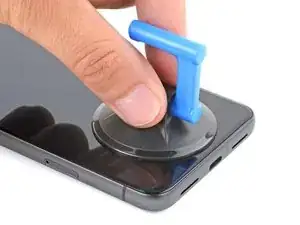
Positioniere die Saugheber in der Mitte so nahe wie möglich an der unteren Kante deines Handys.
-
Drücke die Saugheber zusammen, damit sie sich festsaugen.
-
-
-
Drücke den blauen Hebel nach vorne, um die Arme zu arretieren.
-
Drehe den Hebel im Uhrzeigersinn eine ganze Umdrehung (um 360°) oder so weit, bis die Saugheber anfangen sich zu dehnen.
-
Stelle sicher, dass die Saugheber weiterhin korrekt zueinander ausgerichtet sind. Falls sie zu rutschen beginnen, entferne die Anti-Clamp und bringe Klebeband an, damit die Saugheber besser haften.
-
-
-
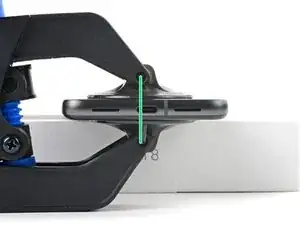
Warte eine Minute, bis ein Spalt zwischen dem Display und dem Rahmen entstanden ist.
-
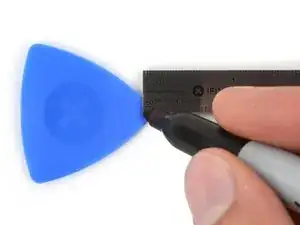
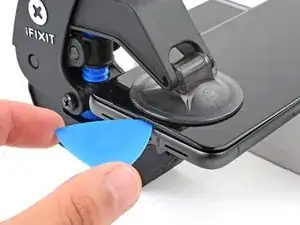
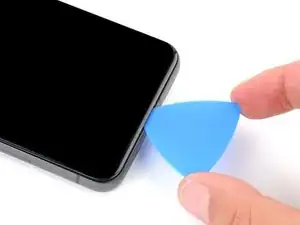
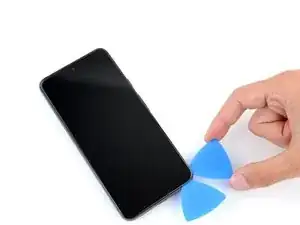
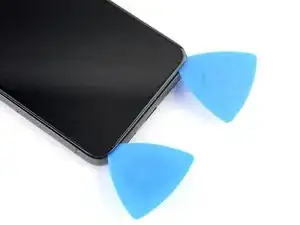
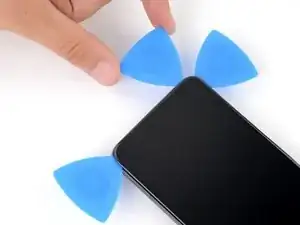
Setze ein Plektrum in den Spalt ein.
-
Ziehe den blauen Handgriff zurück, um die Arme zu entriegeln. Ziehe an den Laschen der Saugheber an der Anti-Clamp und löse die Saugheber ab. Entferne die Anti-Clamp.
-
Überspringe die nächsten beiden Schritte.
-
-
-
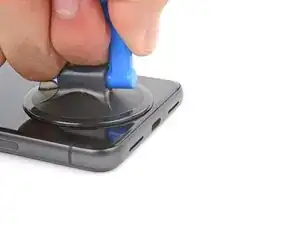
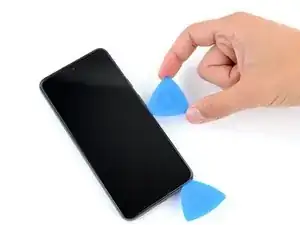
Ziehe fest und gleichmäßig am Saugheber, bis ein Spalt zwischen dem Display und dem Rahmen entstanden ist.
-
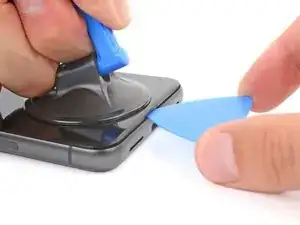
Setze ein Plektrum in den Spalt ein.
-
-
-
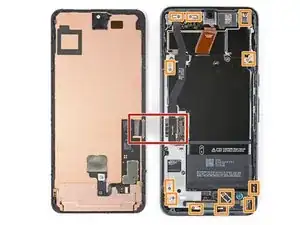
Das Displaykabel befindet sich etwas unterhalb der Mitte an der linken Seitenkante des Smartphones. An dieser Stelle musst du besonders vorsichtig sein, um das Kabel nicht zu beschädigen.
-
Um den Rand des Smartphones herum sind viele Federkontakte. Passe an diesen Stellen besonders auf, damit die Kontakte nicht beschädigt werden.
-
-
-
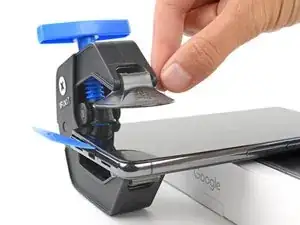
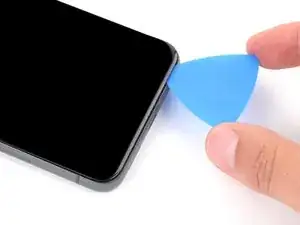
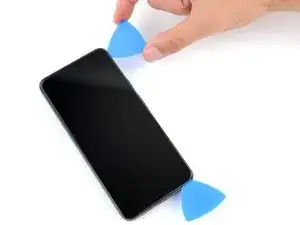
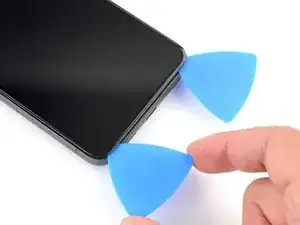
Schiebe das Plektrum zum Auftrennen des Klebers an der Unterkante entlang.
-
Lasse das Plektrum in der unteren rechten Ecke stecken, damit sich der Kleber nicht wieder verbinden kann.
-
-
-
Lege einen erwärmten iOpener zum Aufweichen des Klebers zwei Minuten lang auf die rechte Kante des Displays.
-
-
-
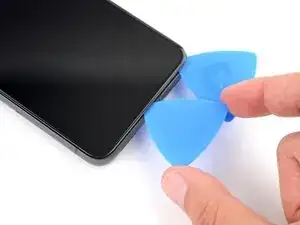
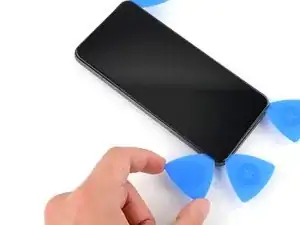
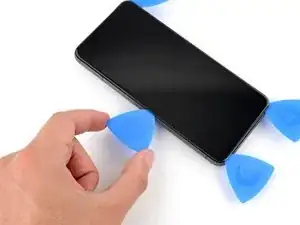
Setze ein zweites Plektrum unter die untere rechte Ecke des Displays ein.
-
Schiebe das neue Plektrum zum Auftrennen des Klebers zur oberen rechten Displayecke hin.
-
Lasse das Plektrum in der oberen rechten Ecke stecken, damit sich der Kleber nicht wieder verbinden kann.
-
-
-
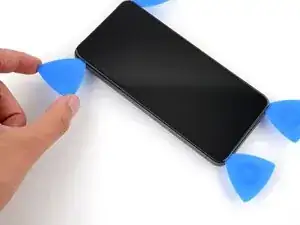
Setze ein drittes Plektrum unter die Unterkante des Displays ein.
-
Schiebe es zum Auftrennen des Klebers zur unteren linken Displayecke hin.
-
Lasse das Plektrum in der unteren linken Ecke stecken, damit sich der Kleber nicht wieder verbinden kann.
-
-
-
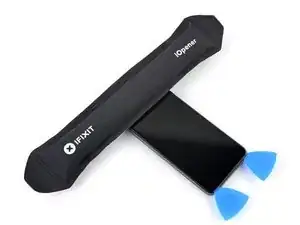
Lege einen erwärmten iOpener zum Aufweichen des Klebers zwei Minuten lang auf die linke Kante des Displays.
-
-
-
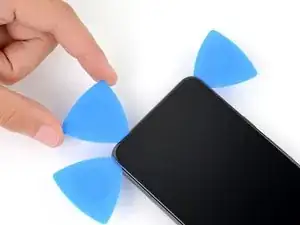
Setze ein viertes Plektrum unter die untere linke Displayecke ein.
-
Schiebe das neue Plektrum zum Auftrennen des Klebers zur oberen linken Displayecke hin.
-
Lasse das Plektrum in der oberen linken Ecke stecken, damit sich der Kleber nicht wieder verbinden kann.
-
-
-
Lege einen erwärmten iOpener zum Aufweichen des Klebers zwei Minuten lang auf die Oberkante des Displays.
-
-
-
Setze ein fünftes Plektrum nahe an der linken Ecke unter die Oberkante ein.
-
Schiebe das neue Plektrum zum Auftrennen des Klebers an der Oberkante zur oberen rechten Displayecke hin.
-
-
-
Lege eine kleine Schachtel oder einen Bücherstapel links neben dein Smartphone, so dass du das Display beim Abtrennen der Kabel daran abstützen kannst.
-
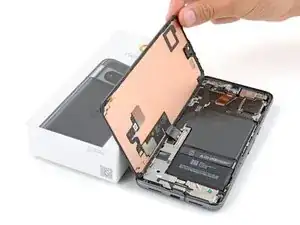
Klappe das Display wie eine Buchseite von der rechten Kante her auf.
-
Stütze das Display ab, so dass du an die Displaykabel gelangen kannst, ohne sie zu stark anzuspannen.
-
-
-
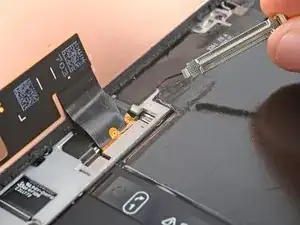
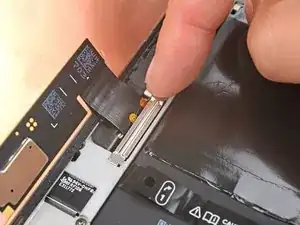
Heble die Oberkante der Abdeckung des Displaykabels mit einem Plektrum hoch.
-
Entferne die Abdeckung.
-
-
-
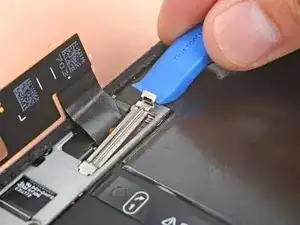
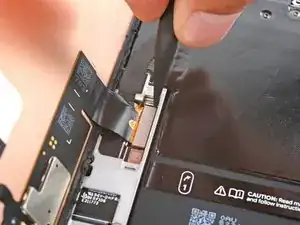
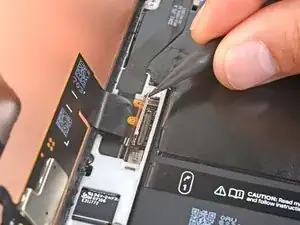
Setze einen Spudger mit der Spitze unter die obere rechte Ecke des Drucksteckers vom Display ein.
-
Heble behutsam nach oben und trenne den Stecker ab.
-
-
-
Fasse das Display nur an den Kanten an.
-
Wenn du das Display auf die Arbeitsfläche ablegst, achte darauf, dass kein Fremdkörper die Rückseite berührt. Am besten legst du das Display auf ein sauberes, weiches und fusselfreies Tuch.
-
-
-
Wenn du ein neues Display mit vorinstallierten Klebestreifen einbauen willst, dann folge nachstehender Anleitung. Bringe anderenfalls mit Hilfe dieser Anleitung neue Klebestreifen am alten Display an.
-
Untersuche das komplette Display auf Schutzfolien oder Klebeband und benutze die Zuglaschen, um sie alle abzuziehen. Schaue besonders genau nach einem großen Stück Kunststoff auf der Rückseite des Displays, ein kleines Stück Kunststoff um den Kameraausschnitt und Klebestreifen um den Rand herum.
-
Schließe das Displaykabel wieder an und bringe seine Abdeckung an.
-
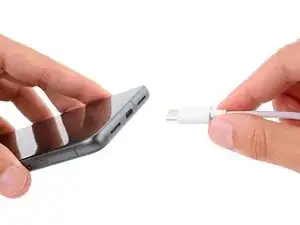
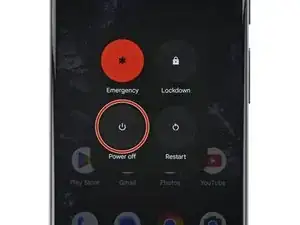
Jetzt ist eine gute Gelegenheit, um das Smartphone ausgiebig zu testen, bevor du es wieder zuklebst. Schließe das Display zeitweise an, schalte das Gerät ein und überprüfe, ob alles funktioniert. Bevor du weiterarbeitest, musst du das Smartphone wieder ausschalten.
-
Drücke das Display wieder am Rahmen fest. Du solltest es spüren, wenn die Rasten wieder einschnappen.
-
Drücke das Display um den Rand herum gut fest, damit der Kleber gut hält.
-
-


Um dein Gerät wieder zusammenzubauen, folge den Schritten dieser Anleitung in umgekehrter Reihenfolge.
Das Gerät ist mit einem eingebauten Diagnosetest ausgestattet. Hier siehst du, wie du das Pixel Diagnostic Tool starten kannst.
Entsorge deinen Elektromüll sachgerecht.
Hat die Reparatur nicht ganz geklappt? Versuche es mit ein paar grundständigen Lösungen, ansonsten findest du in unserem Forum Hilfe bei der Fehlersuche.

23 Kommentare
So i tried the replacement but only my 4, 5, 6 buttons press... I reordered a new screen but is there something i did wrong or break?
before you apply the new screen, make sure the plastic housing also came off with the screen! the one that keeps the camera in place.
If you've done it correctly the camera should be kind of loose and not held in.
Same issue as the pixel 7 pro new screen does not fit!
The guide does not mention this and assumes that all of it will come off in one go. I've wasted an adhesive on this and a few hours spent scratching my head, if this isnt removed then your screen wont click in.
Hi Samuel, thank you for your comment! We'd like to update the guide to be more helpful, but just need some clarifying information. Is the housing you're talking about the small, square housing on the top of the screen, or the entire perimeter housing?
I have the same issue where the entire perimeter housing didnt come of
matteo -
Yes! I have just done this and also had the same issue. In step 19 you can see a black plastic trim stuck to the removed screen - this had detached from the (very shattered) glass and was left in the frame, which I did not realise until trying to put the new screen in place and wondering why it did not click into place. Once I removed that and spent 40 mins cleaning up the next layer of adhesive, the new screen popped in perfectly. The bit remaining was the 'entire perimeter housing' as mentioned in the comment
AaronM -
It would be nice if ifixit made picks with a physical stop so they don't slide in more than 3mm. I would imagine this would be useful for more than the Pixel phones.
megadirk -
Mein Bildschirm ist schwarz - das Smartphone reagiert jedoch. Wie kann ich es ausschalten wenn ich kein Bild nicht sehe?
Ulises -
Press the power and volume up button, and imagine where the power off button will be on the screen. Touch area and wait a couple of minutes. Then call or text your phone to see it any notifications or ringing would indicate eithers it's on or off. You can also try to use find my device from the web to see if you can ping or find the phone if it's on you will find it, if off it will not ring.
Dave Hom -
My phone is cracked to the point where no image is shown, nor is touch registered. How can I safely power off the phone before replacing the screen?
Jayden Hua -
Let it run out of battery, then change your screen. Plug the phone back onto the charger at the point where you need to confirm your repair before sealing it with adhesive.
Dave Hom -